As Minecraft 1.19.3 doesn’t boast the best graphics in the modern gaming world, the sandbox title’s devoted community has come up with different kinds of shaders to improve visual quality. These are graphical features that can be applied to the game to drastically enhance the lighting, shadows, reflections, and other aspects of it.
To install one of these shaders, players will need a dedicated graphics and performance mod like OptiFine or Sodium. Considering that Sodium requires installing the Iris Shaders mod as well, OptiFine is one of the best mods to easily use shaders in Minecraft 1.19.3. Here are a few simple steps to using shaders with this mod.
Steps to use shaders through Optifine in Minecraft 1.19.3
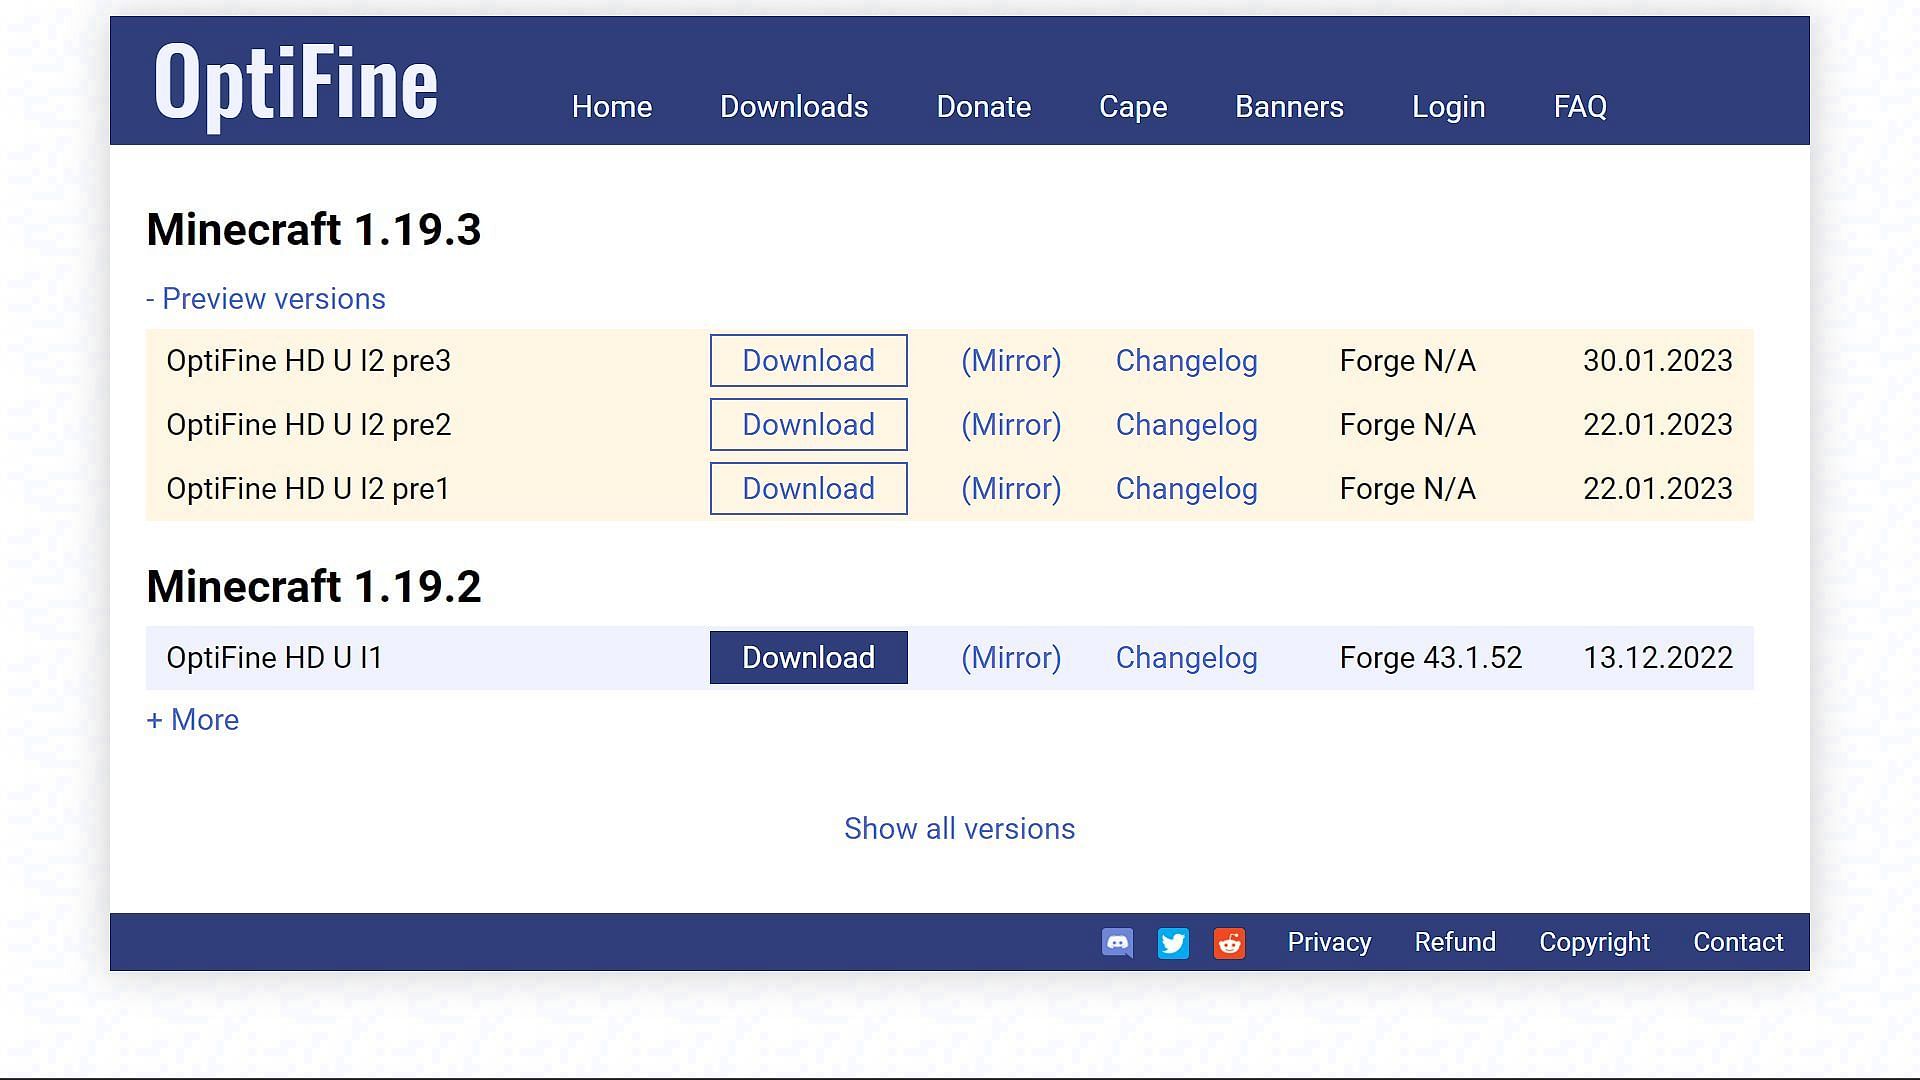
1) Download and run OptiFine
</figcaption></figure>
<p>First off, you must find and download the <a href=) OptiFine mod. This can be done by heading to the mod’s official website and downloading the preview version for the 1.19.3 update. As of now, the mod developers are still working on a stable mod for the game’s latest version, which is why you can only use the preview. It should be noted that the preview might have some glitches and issues.
OptiFine mod. This can be done by heading to the mod’s official website and downloading the preview version for the 1.19.3 update. As of now, the mod developers are still working on a stable mod for the game’s latest version, which is why you can only use the preview. It should be noted that the preview might have some glitches and issues.
The installation process is fairly simple, and you will be able to find the OptiFine game version in the drop-down menu on the official game launcher.
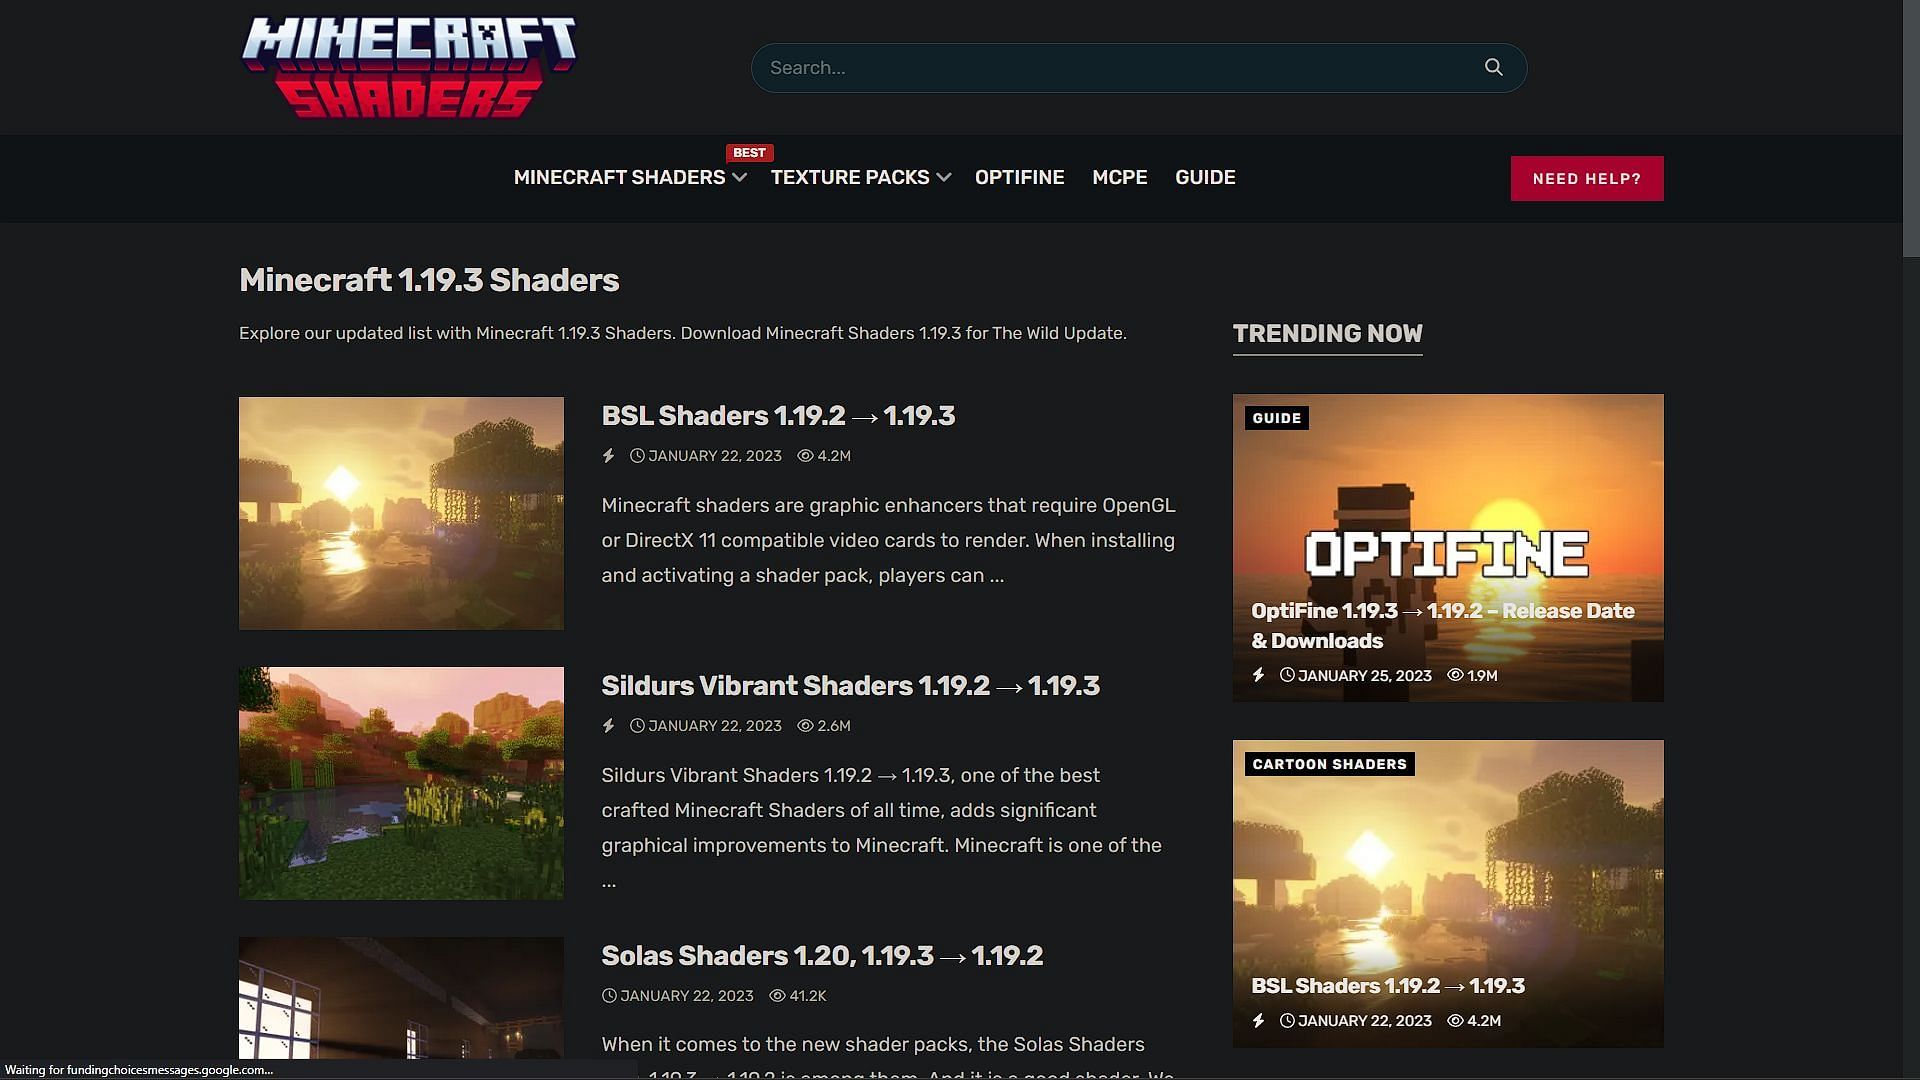
2) Download the desired shaders
</figcaption></figure>
<p>Next up, you must search for and download a shader of your choice. Since the game is over a decade old, there are plenty of different and interesting shaders to choose from. Some of the best shaders to check out are SEUS, Sildur, <a href=) Complementary, BSL, etc.
Complementary, BSL, etc.
These can be found by simply searching through the internet. Multiple websites offer these shaders, while some of them have dedicated websites to download different options from.
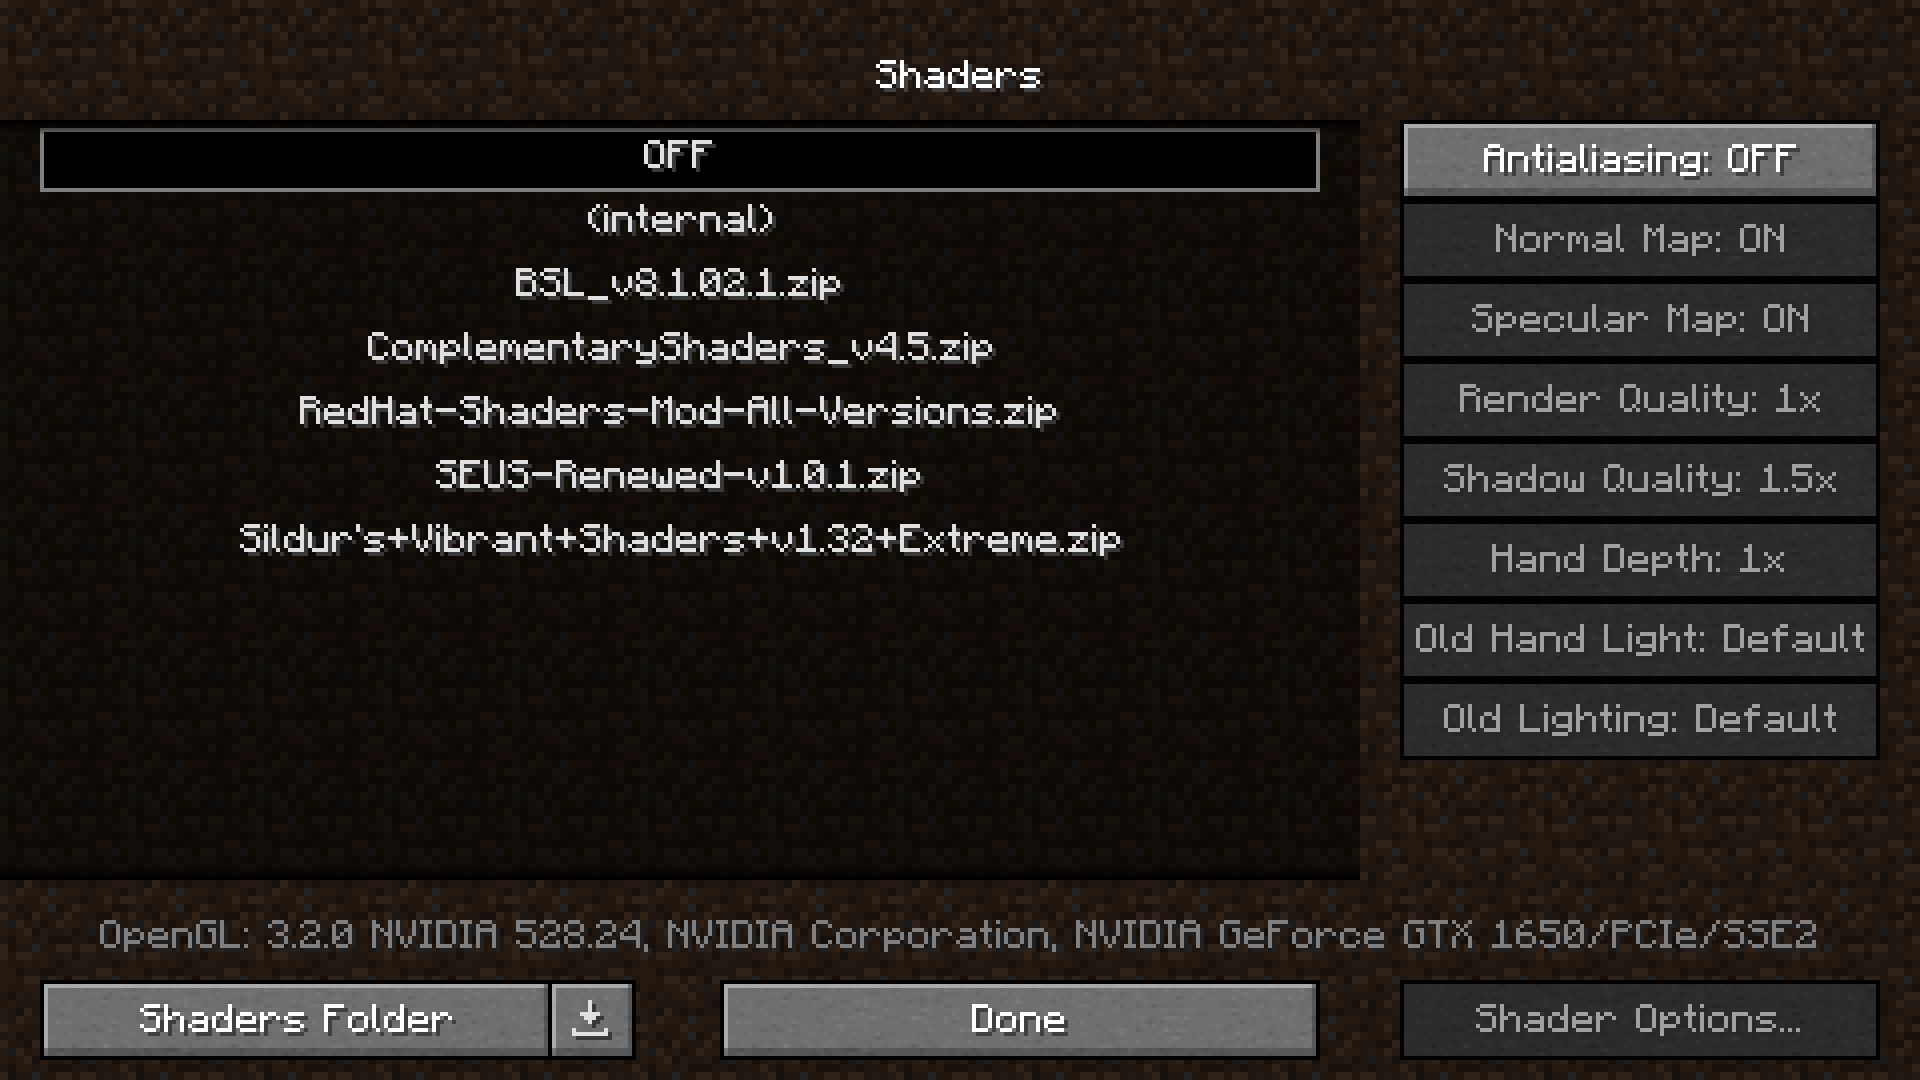
3) Heading into the game and finding shaders settings
</figcaption></figure>
<p>After you download the shaders, head over to the <a href=) game launcher and open up the OptiFine modded game version. Head to the video settings and select the shaders tab. Here, you will see an empty black box on the left, with some buttons at the bottom.
game launcher and open up the OptiFine modded game version. Head to the video settings and select the shaders tab. Here, you will see an empty black box on the left, with some buttons at the bottom.
Click on the open shaders folder button, which will take you to an empty File Explorer dialog box. This is where the downloaded shader must be placed. The shader will be downloaded as a compressed ‘.zip’ file, but you must never extract the contents of this file as it will only work in compressed form. Simply paste the shader in the shader folder that was just opened up for you.
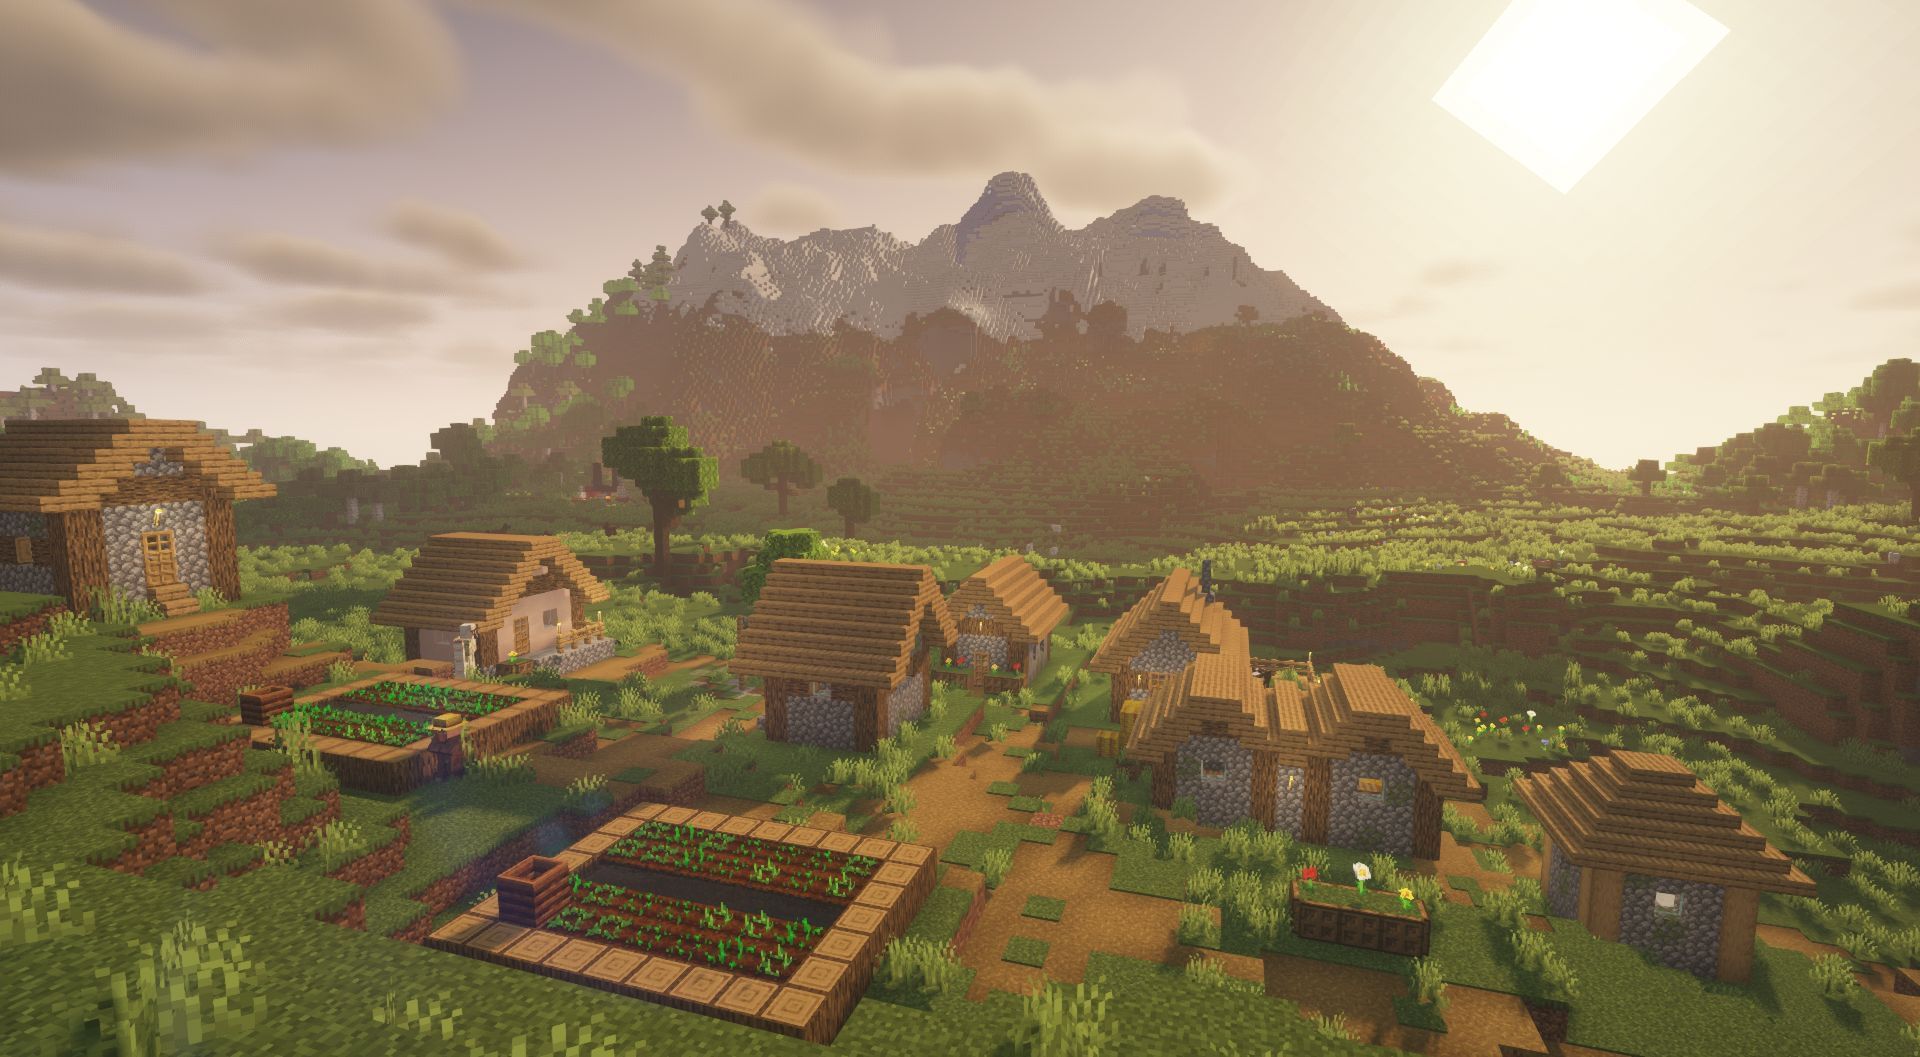
4) Activating the shaders and using it in a world
</figcaption></figure>
<p>Once the shaders are in place, close the folder and load up the game. You will notice that the shader’s name will now appear inside the black box under the <a href=) shaders tab. Simply select your shader and activate it. You will now be able to witness a stunning graphical change in your game.
shaders tab. Simply select your shader and activate it. You will now be able to witness a stunning graphical change in your game.