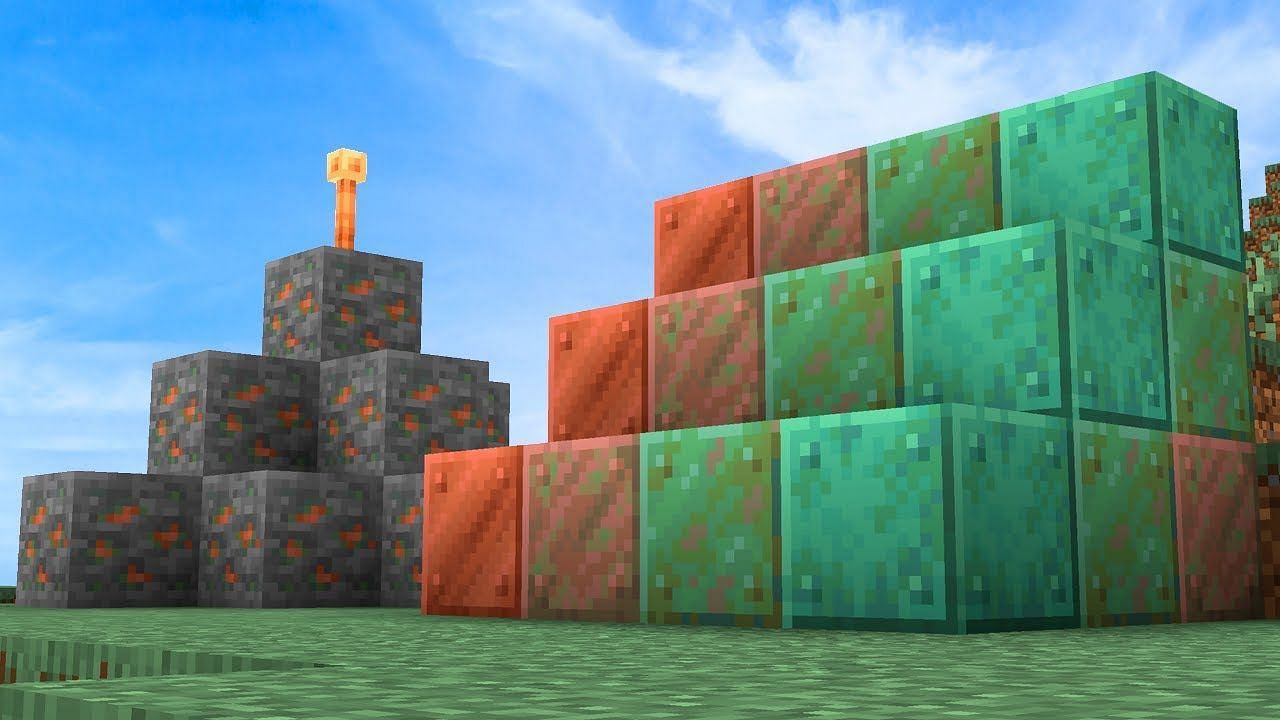
Following the release of the Caves and Cliffs update, one of the new resources to be included in Minecraft is copper. Ore of that particular metal may be smelted into ingots, which can then be used to make a Lightning Rod, a Spyglass, or a Block of Copper.
Besides its ability to craft items, the Block of Copper stands out from the rest of the metals owing to its distinguishing feature of changing color. This change essentially takes place due to the process of oxidation.
The oxidation process in Minecraft occurs in three stages, i.e., Exposed, Weathered, and Oxidized. Players can even reverse through these stages to return copper to its original state. Below are further instructions on how to remove oxidation from copper in Minecraft.
Removing oxidation from copper in Minecraft
The process of removing oxidation from copper is fairly simple and does not require much effort. Listed below are two methods through which users can remove oxidation inside Minecraft:
1) Lightning strikes
</figcaption></figure>
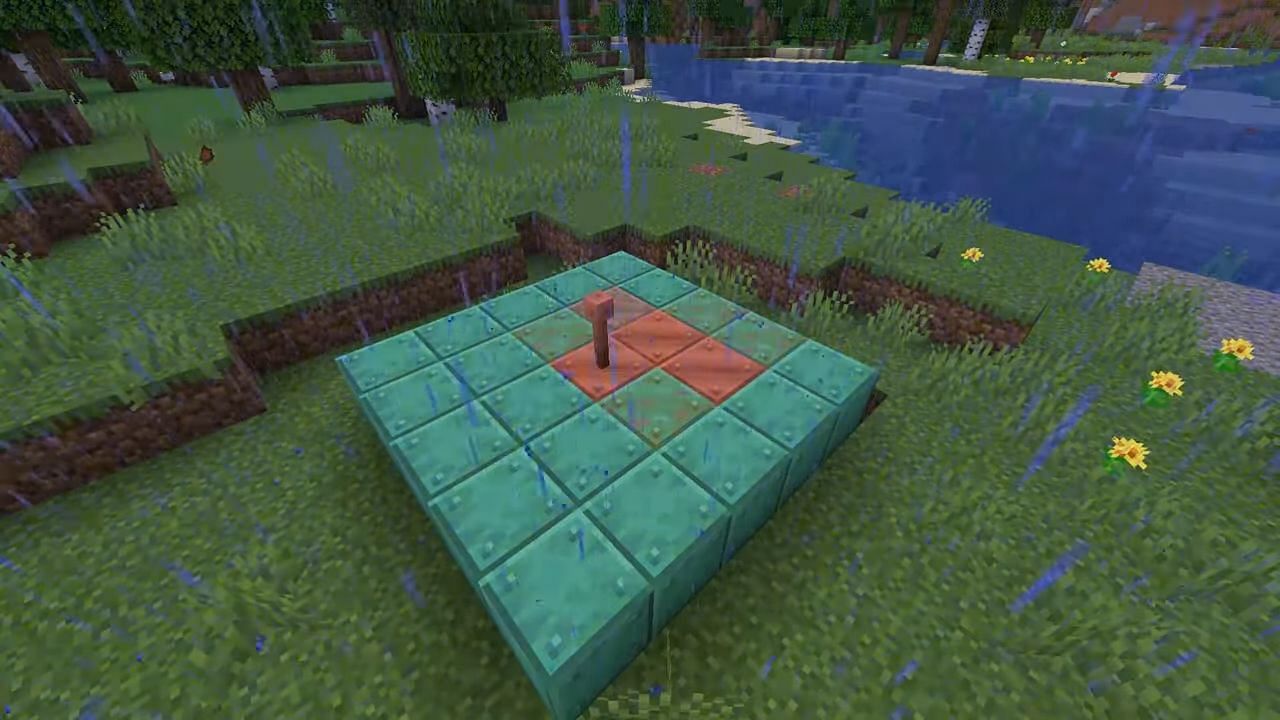
<p>The oxidation that forms on copper can be removed using a lightning strike. For players to achieve this, they will need to have access to a Lightning Rod, which can be crafted using three <a href=) Copper Ingots. In addition to this, a storm will need to occur as well as a trident that has the channeling enchantment applied to it.
Copper Ingots. In addition to this, a storm will need to occur as well as a trident that has the channeling enchantment applied to it.
After lightning strikes the Lightning Rod, copper blocks that were not waxed will get deoxidized. Other blocks in the vicinity may also, at random, have their oxidation removed. However, this method will not work if the blocks are waxed.
2) Scraping with Axe
</figcaption></figure>
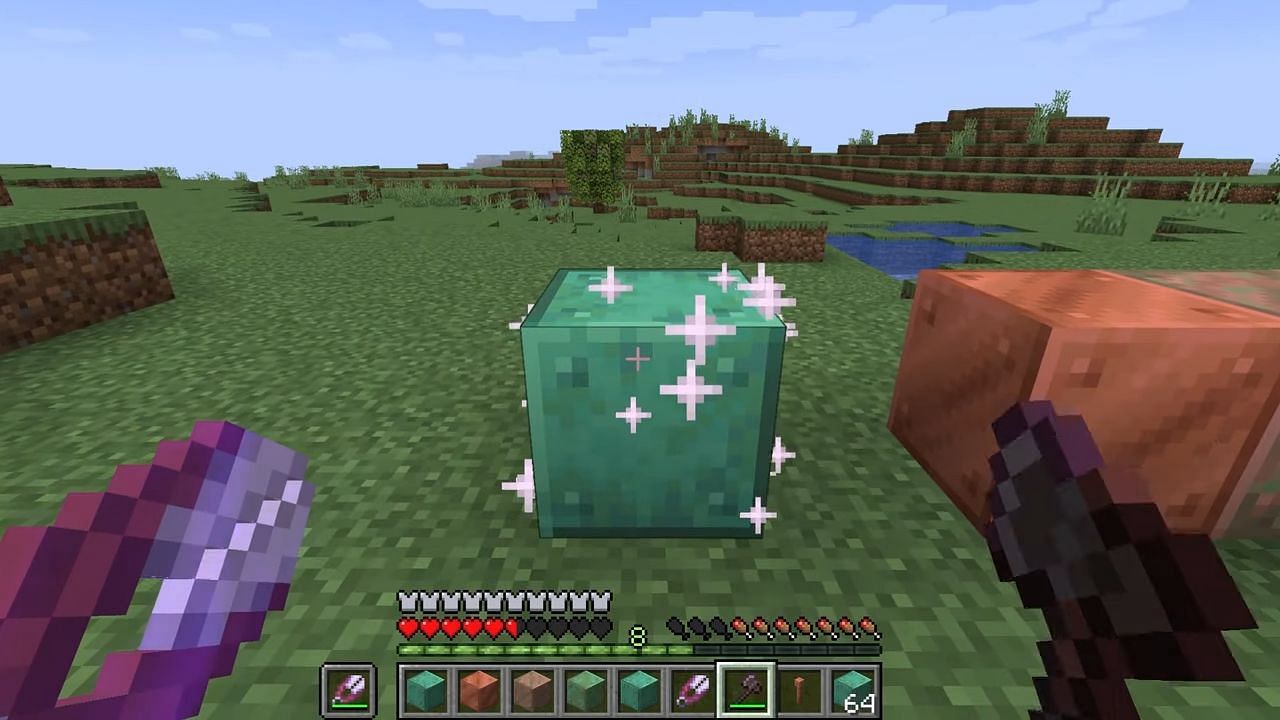
<p>Another method of removing oxidation from copper is by scraping. Carrying out this action will cause the oxidation to regress by one step; for example, if <a href=) players scrape copper in its weathered state, it will move back to an exposed stage.
players scrape copper in its weathered state, it will move back to an exposed stage.
Compared to lightning strikes, this is a more straightforward approach as oxidation can be removed from the copper with a few clicks, whereas a lightning strike requires users to wait until there is a thunderstorm.
Moreover, scraping with an Axe can also remove the wax from the copper block.
How to prevent oxidation in Minecraft using the waxing method
</figcaption></figure>
<p>Those who do not want to work through the process of removing oxidation can end up preventing the process from occurring in the first place. For the same, they will have to wax the copper blocks.</p>
<p>Mentioned below are the steps on how to wax copper in Minecraft:</p>
<p><strong>Step 1:</strong> First, you must collect honeycombs through beehives using shears. Crafting a <a href=) shear would cost two iron ingots.
shear would cost two iron ingots.
Step 2: Once honeycombs are acquired, you need to head over to the copper block you wish to wax.
Step 3: You can subsequently complete the waxing by right-clicking on the copper block.
This will prevent oxidation, and the waxed block will retain its oxidation stage. Hence, you will not have to worry about a change in color after completing the procedure.