In Minecraft 1.19, banners can be crafted and placed to signify your territory or base.
Banners are essentially decorative blocks that are crafted with six wool blocks of any color and one stick. However, this recipe only makes solid-colored banners that are boring to look at.
Fortunately for players, Minecraft also has a special block dedicated to customizing banners. These can be used to create all kinds of designs with different dyes and banner patterns.
You can either try to create your own banner designs or browse the web to get some creative ideas for it. With custom banners, you can truly personalize your world.
Steps to create and use custom banners in Minecraft 1.19
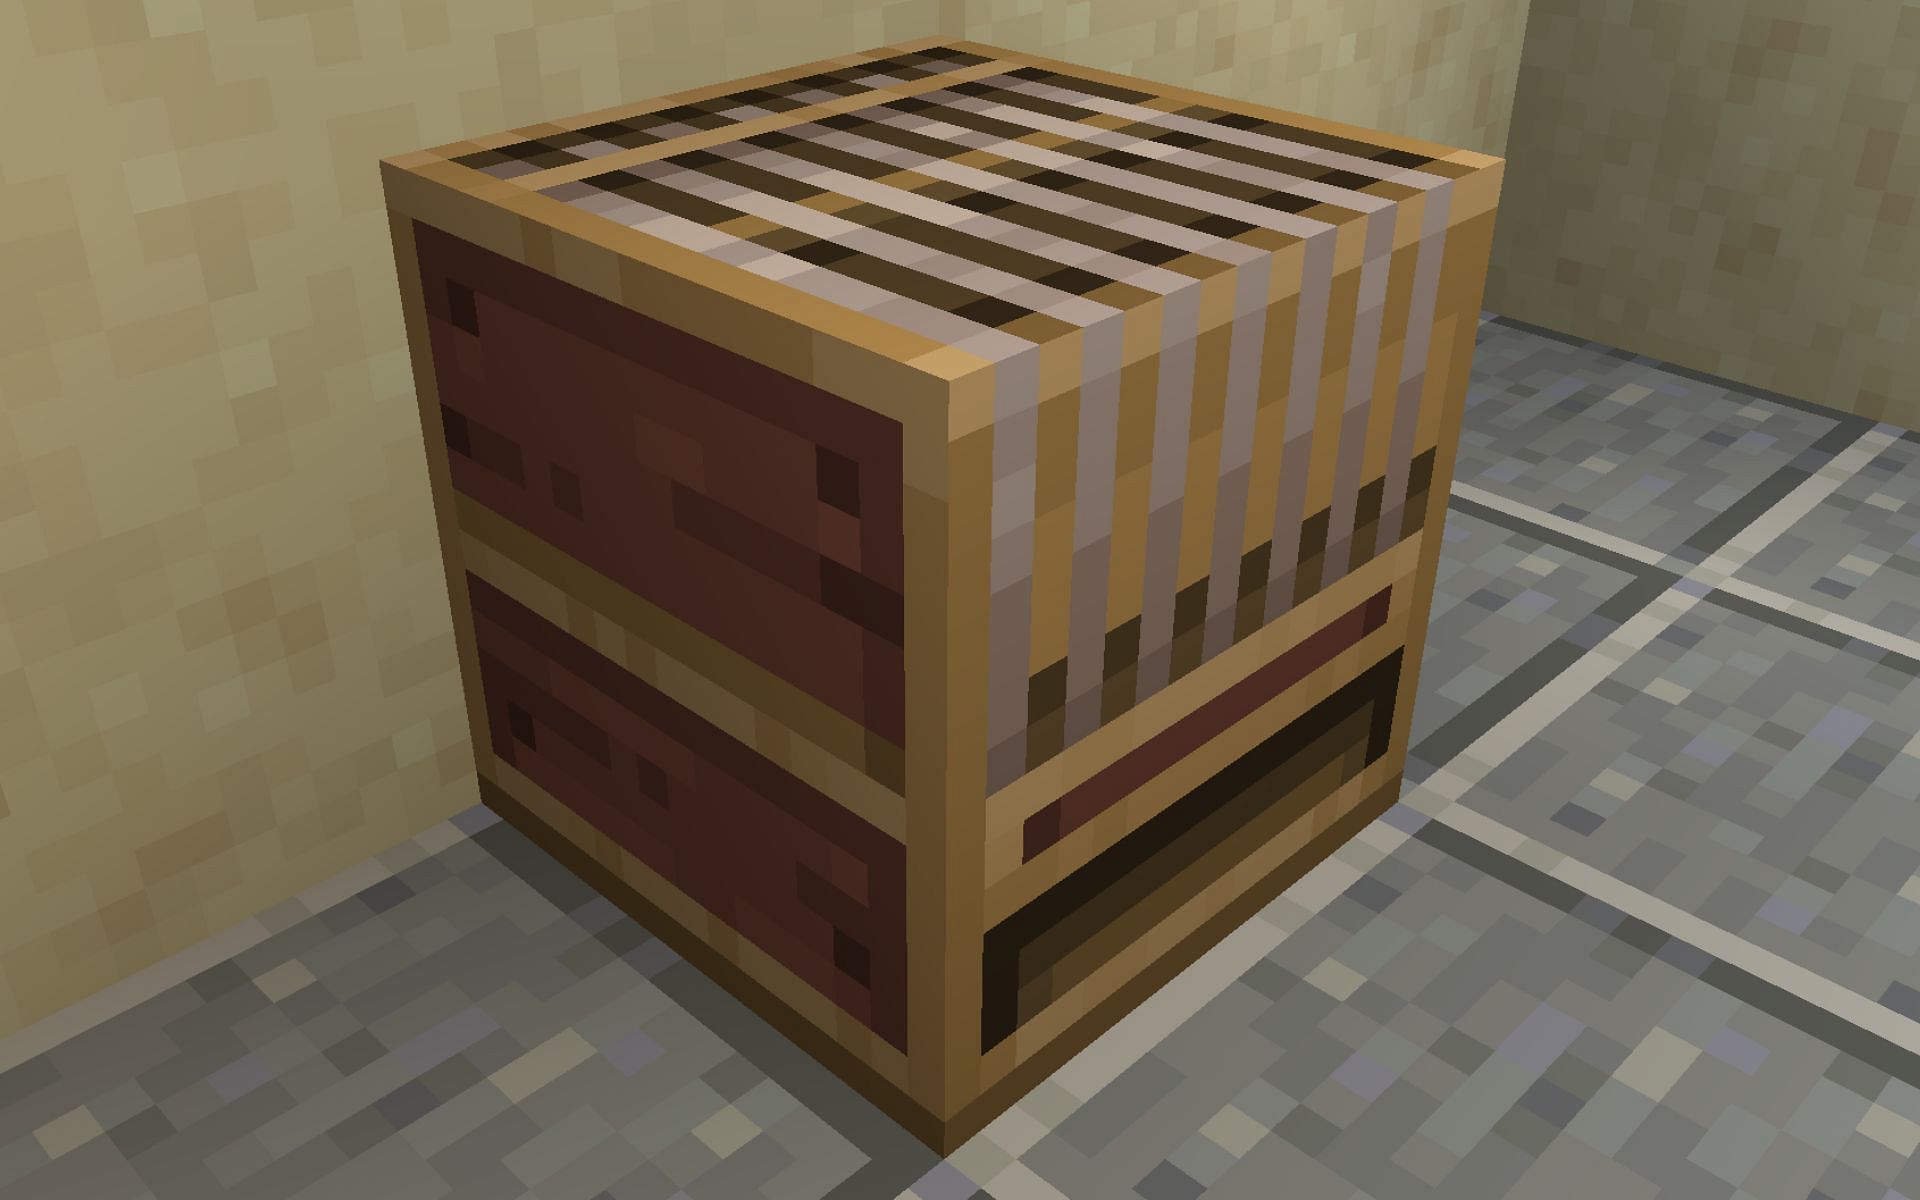
1) Craft loom block
</figcaption></figure>
<p>To create a custom banner, you first need to craft a block called <a href=) Loom. Without it, you can only craft solid-colored banners. The block is quite simple to craft as it requires two strings and two wooden planks.
Loom. Without it, you can only craft solid-colored banners. The block is quite simple to craft as it requires two strings and two wooden planks.
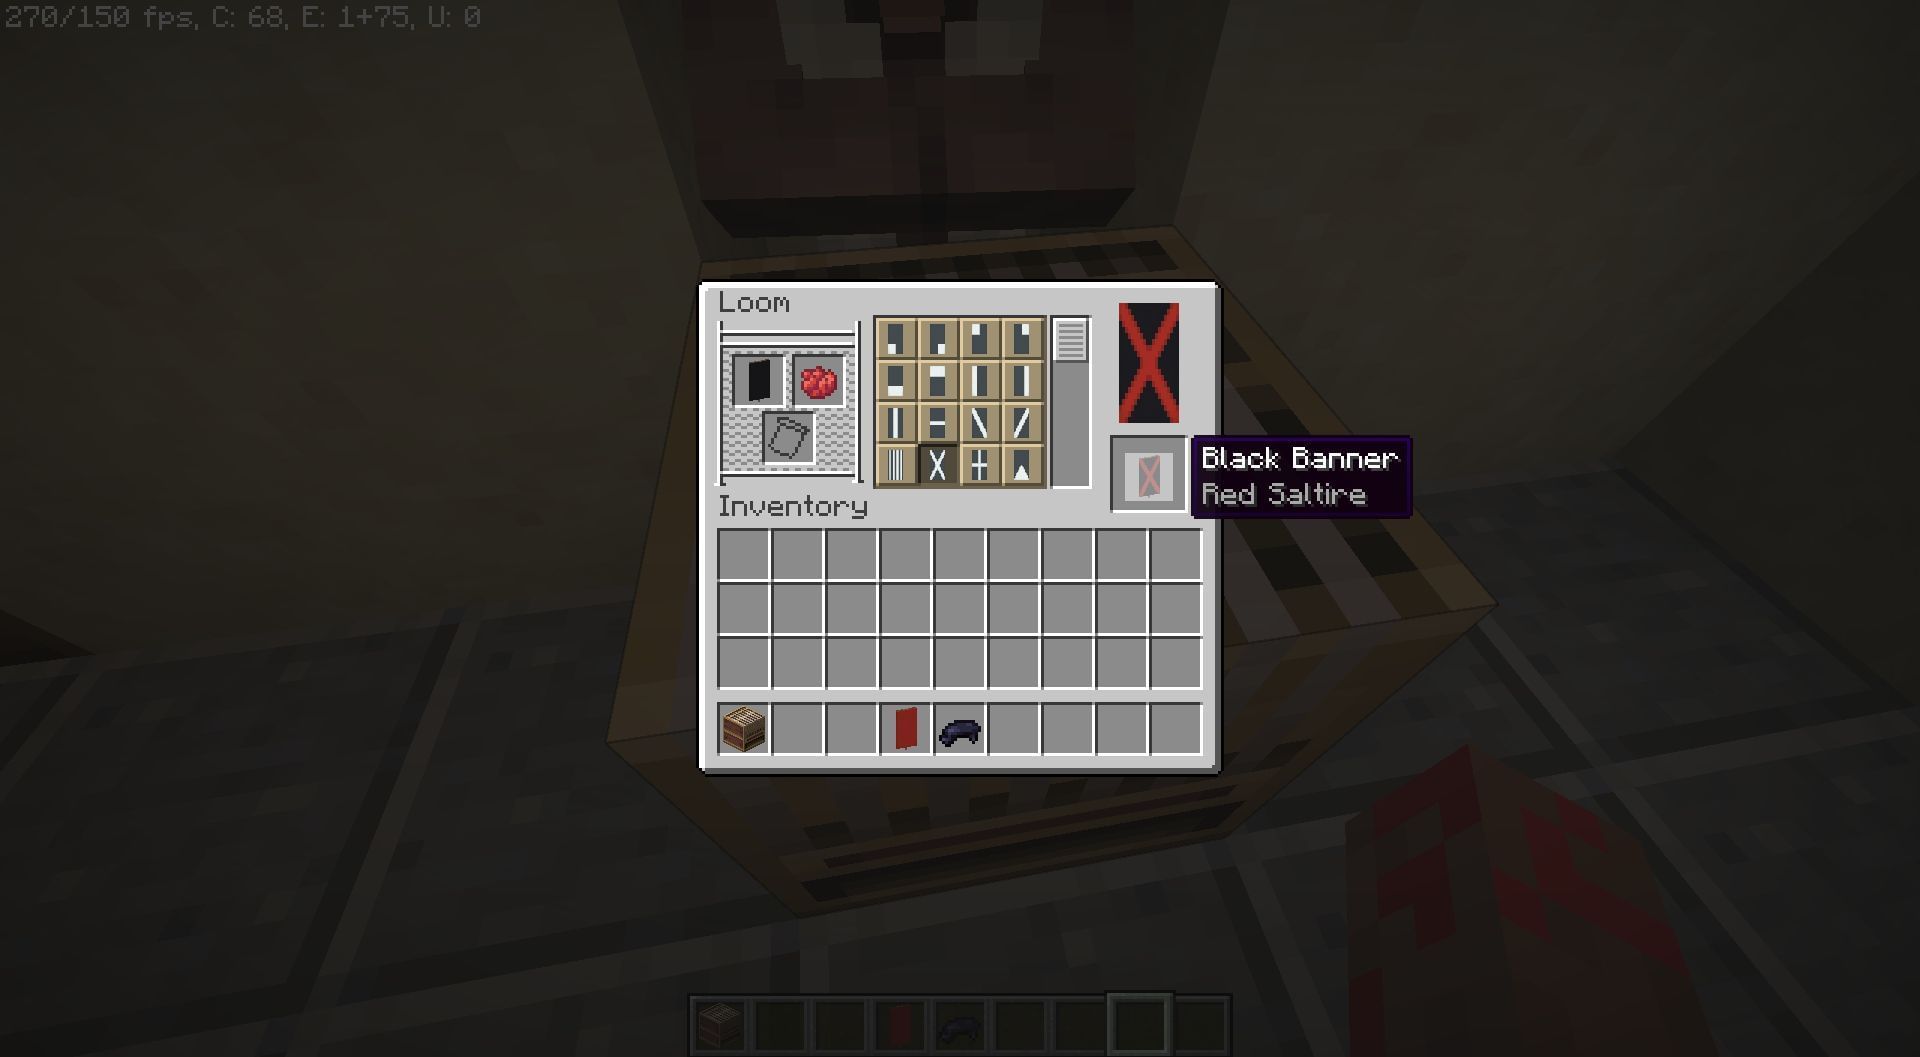
Once crafted, place the block anywhere and right-click on it to open the GUI. The interface can be quite confusing if you’re new since it has loads of slots and boxes.
The top-left slot is where a solid-colored banner can be placed. Any dye must be placed beside it to unlock all the patterns that can be applied to it.
The slot below the banner and dye area is for banner patterns that players can find in chest loot.
2) Use regular patterns in the loom block
</figcaption></figure>
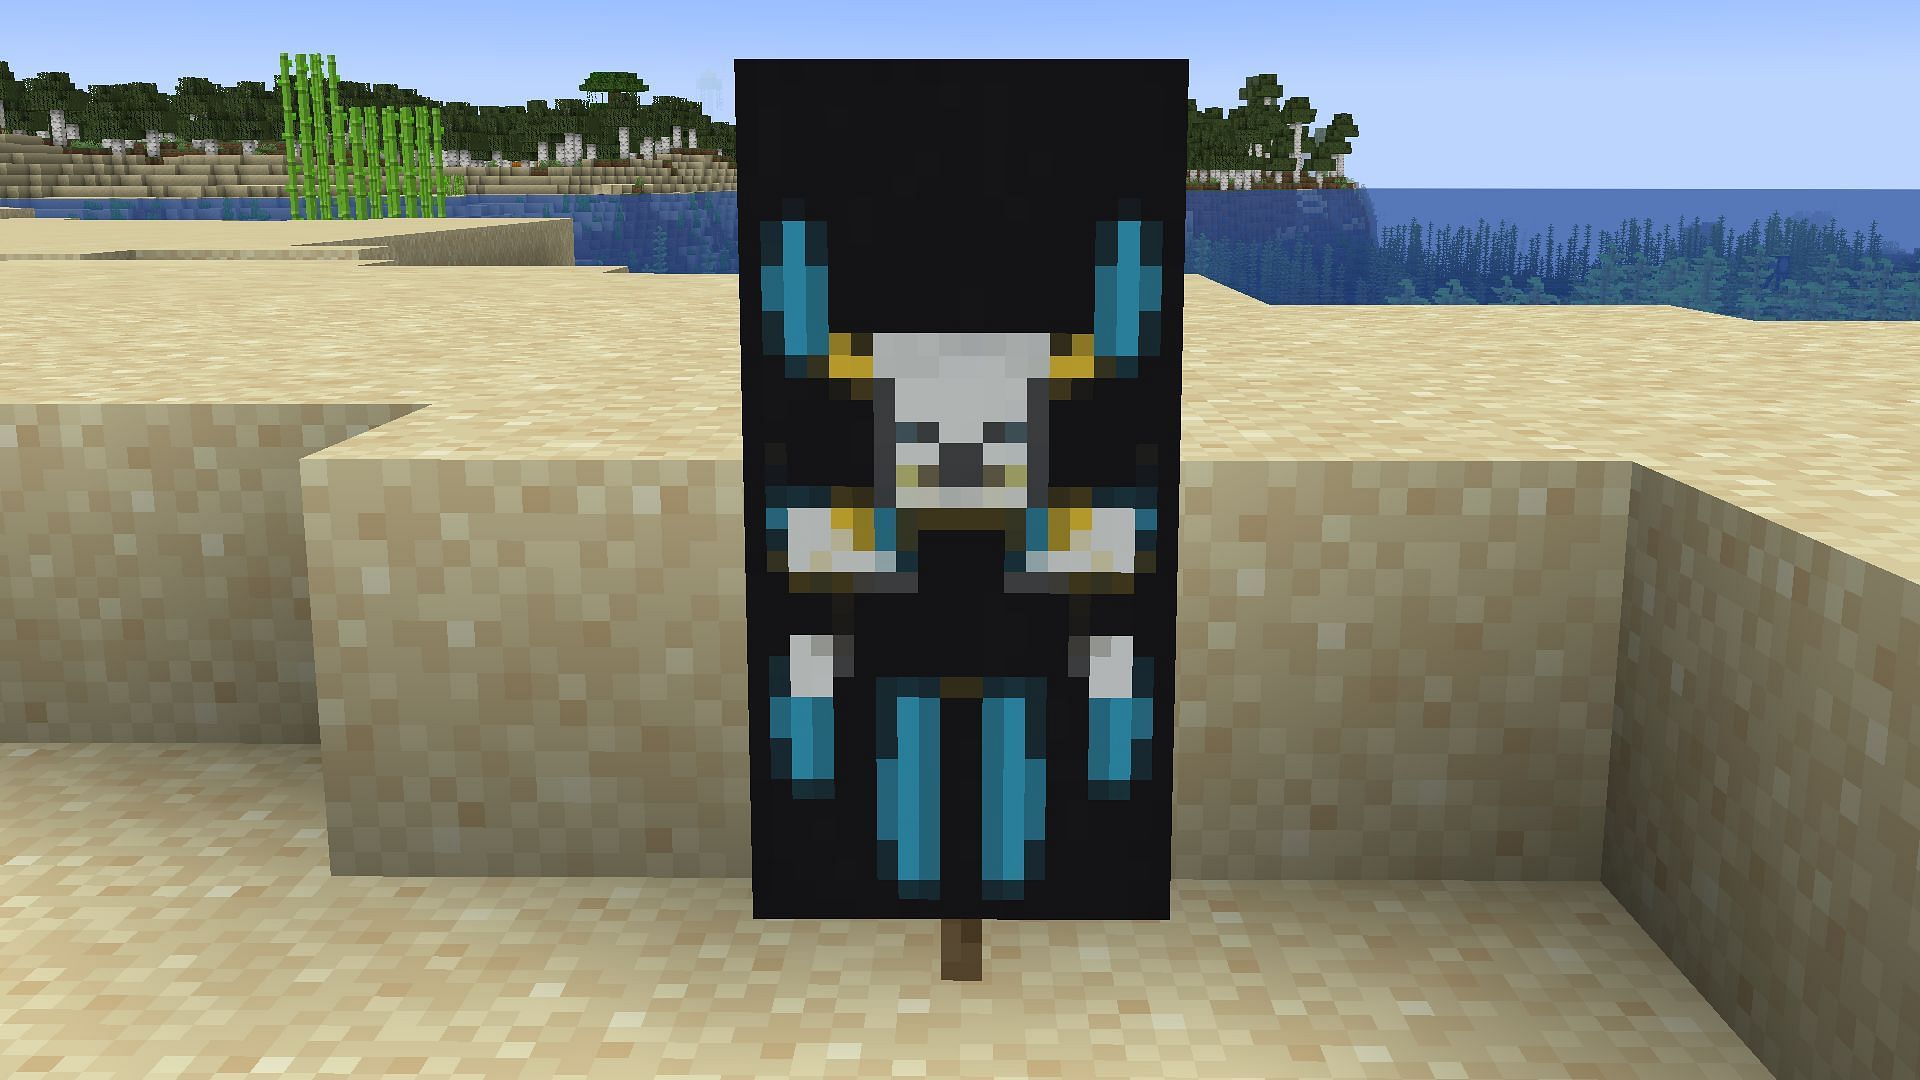
<p><a href=) Banner patterns are items that can be used to customize banners even more. They add more detailed designs to the decorative block that cannot be achieved with regular designs offered by the loom block.
Banner patterns are items that can be used to customize banners even more. They add more detailed designs to the decorative block that cannot be achieved with regular designs offered by the loom block.
There are a total of eight banner patterns, two of them being exclusive to Bedrock Edition. Six of them can be crafted with paper and any other one of these items: an enchanted golden apple, wither skeleton skull, creeper head, oxeye daisy, bricks, and vines. The other two can only be obtained by a cartographer or in Bastion Remnant chest loot.
These special patterns, combined with regular ones, can result in highly detailed and customized banners in Minecraft.