One feature that makes Minecraft Minecraft is the ability to use custom skins for a more personalized experience. Java players can download any skin image from the internet and upload it to their account on Minecraft.net, but Bedrock players do not have the same luxury.
Most of the skins available on Bedrock are from skinpacks available for purchase. However, there are still ways to circumvent these microtransactions and use custom skins and add-ons for Bedrock, including the Xbox version.
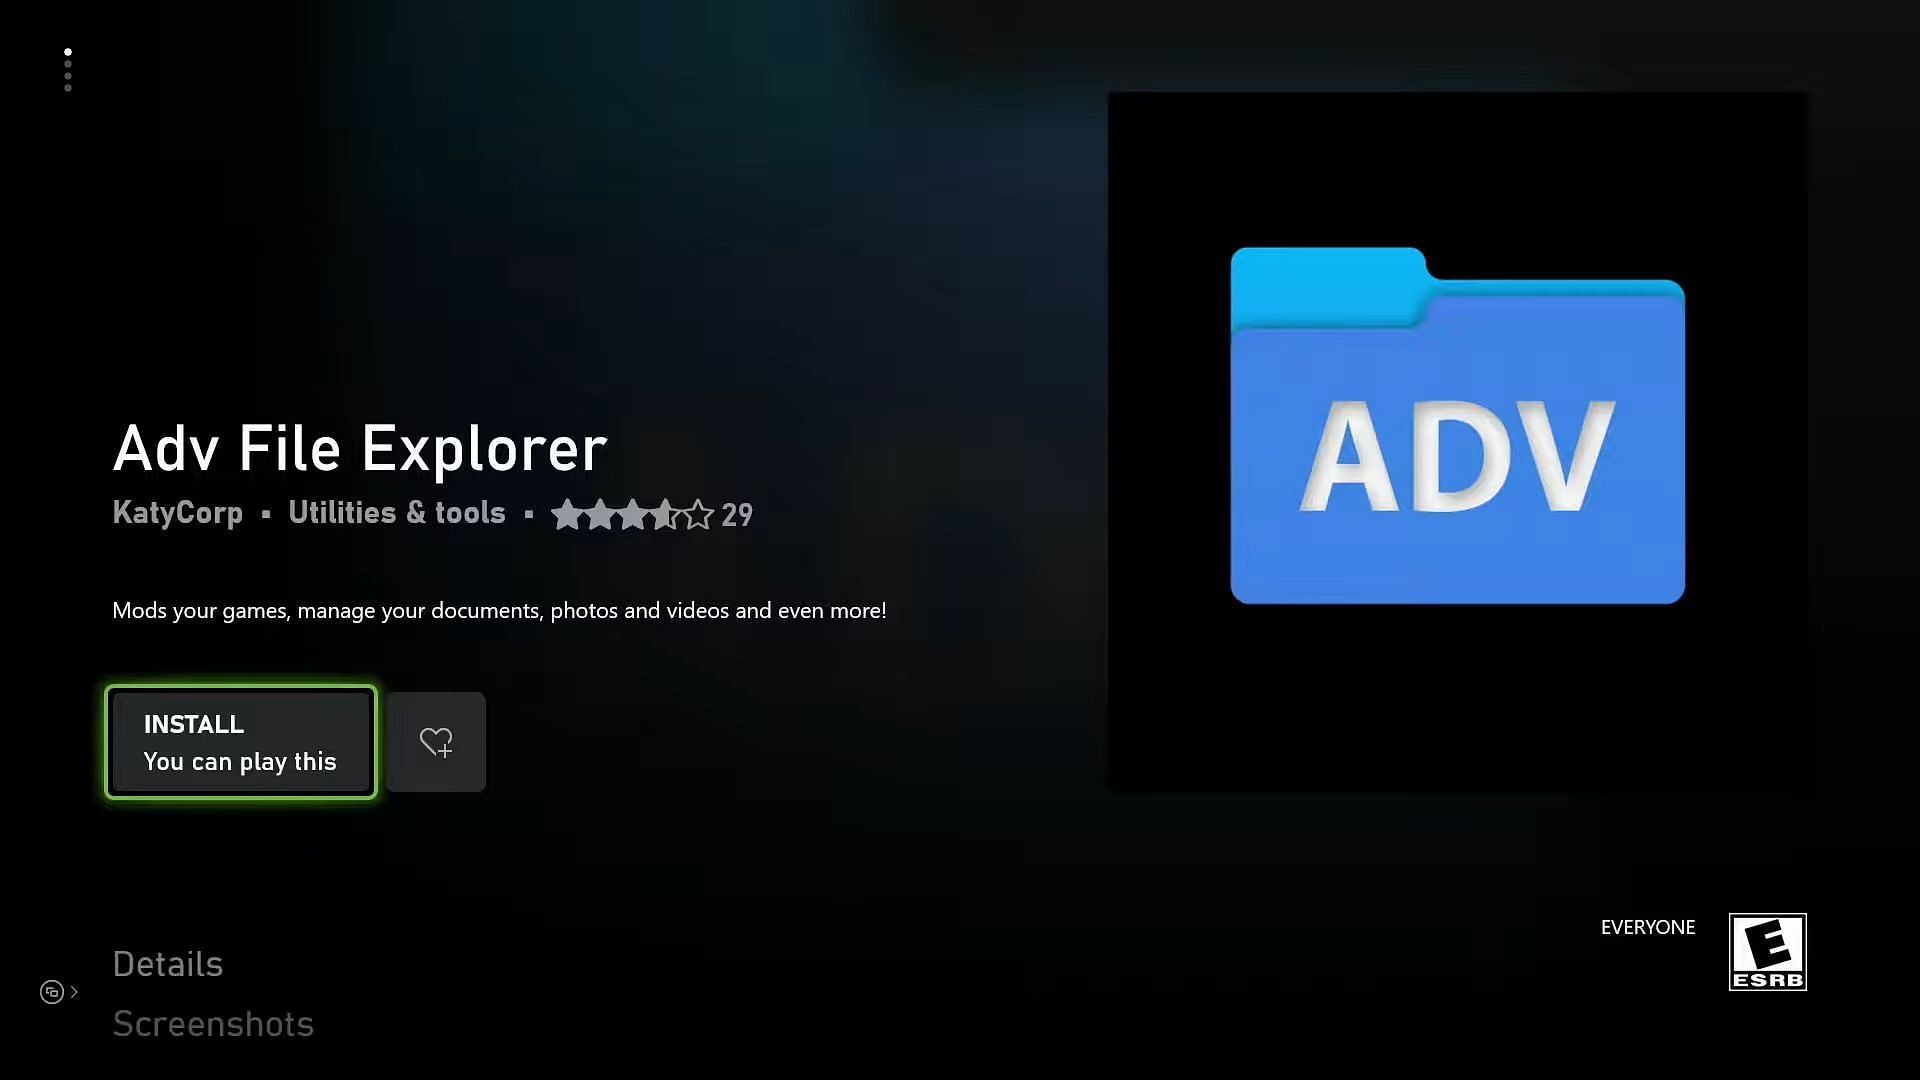
1) Installing the needed apps
</figcaption></figure>
<p>Clicking on this will prompt that applications do not have access to internal drives. This window has a button to go back to the Microsoft Store, and clicking on this will take players to the “Adv File Explorer (FullTrust)” application. This application will be able to interact with files on the <a href=) console’s internal storage.
console’s internal storage.
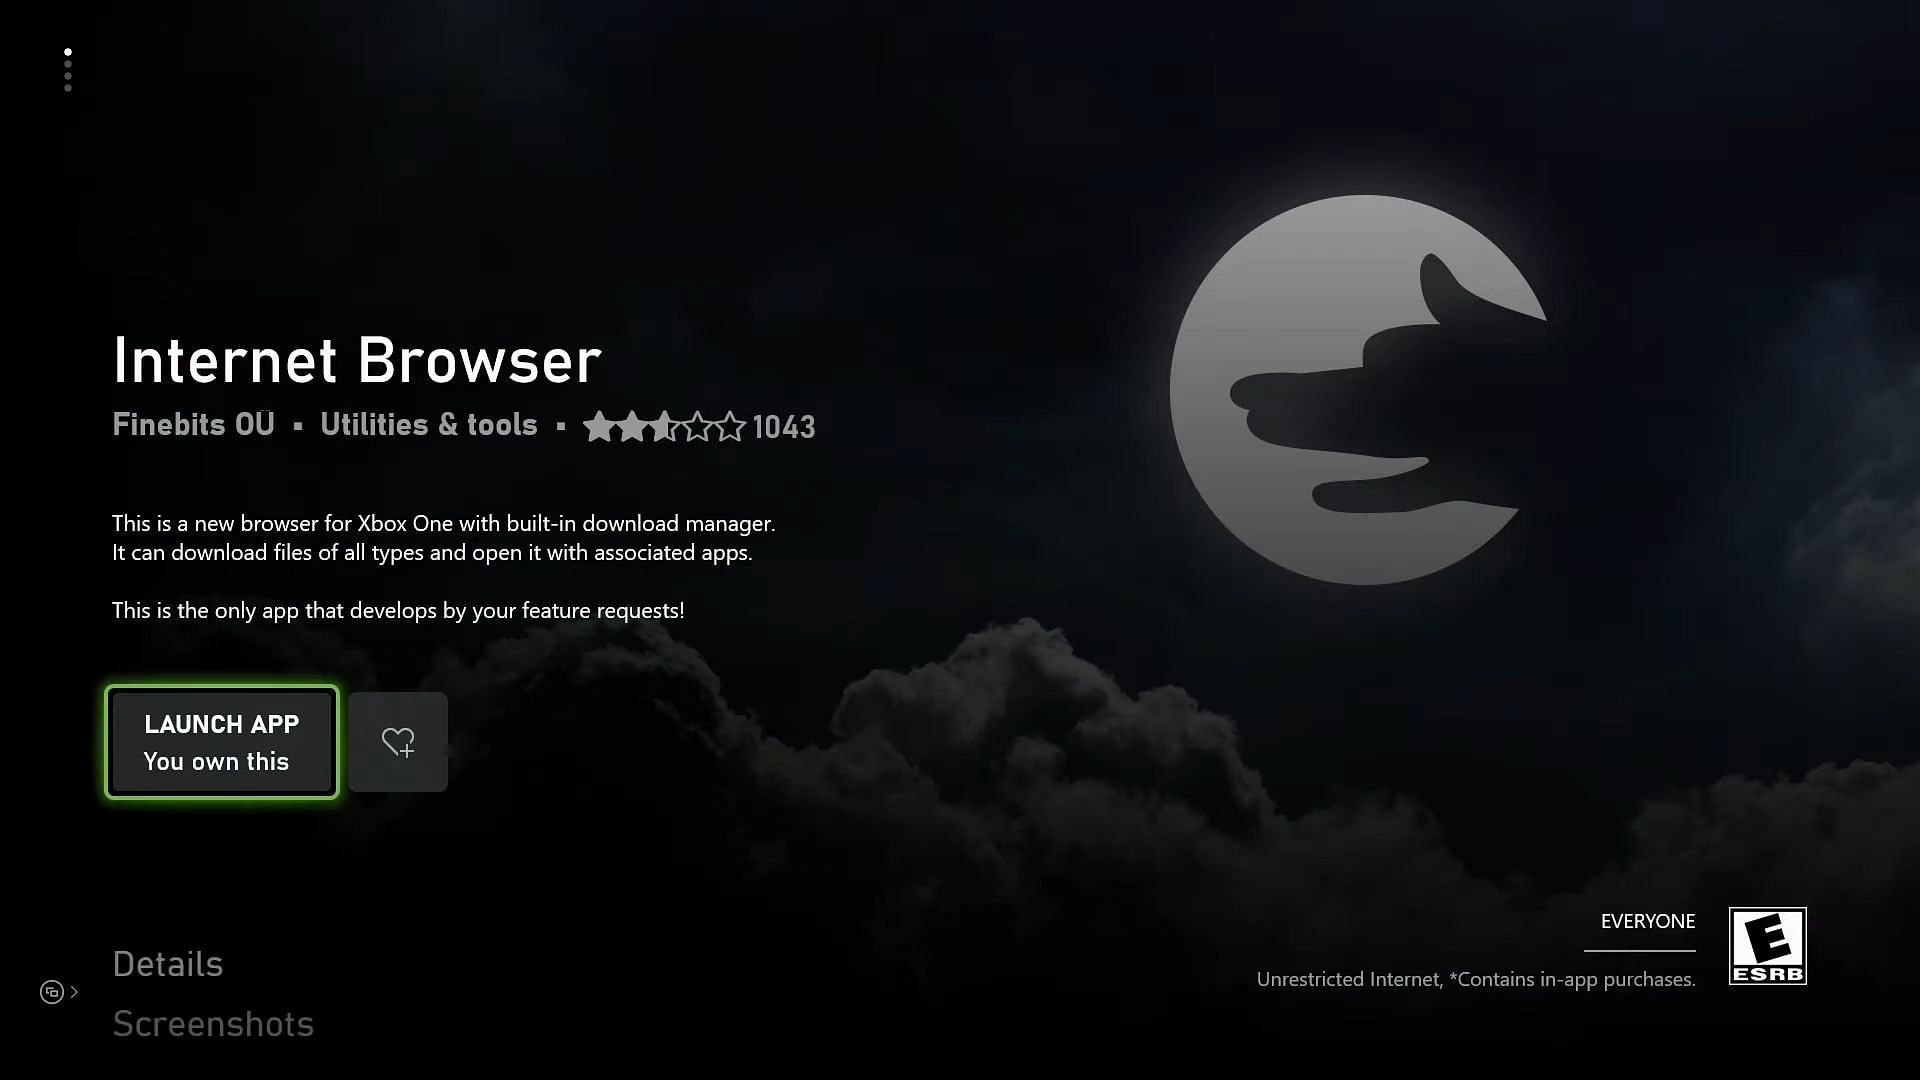
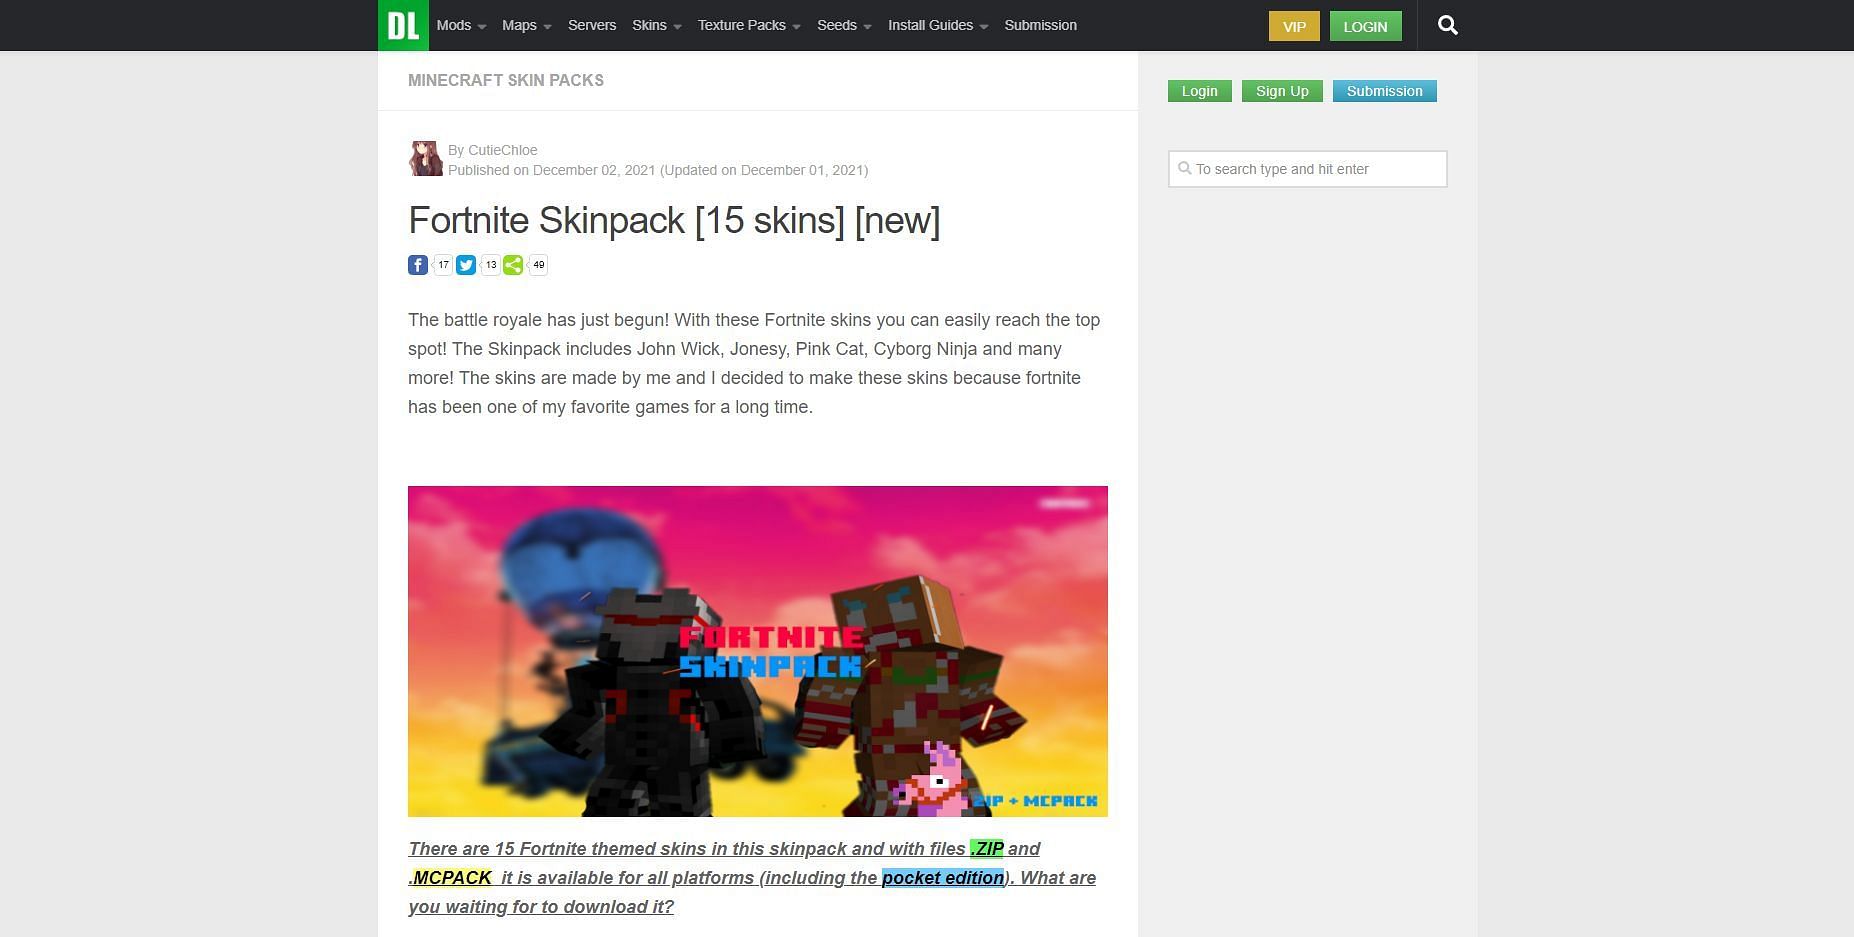
2) Downloading a skinpack and skin
</figcaption></figure>
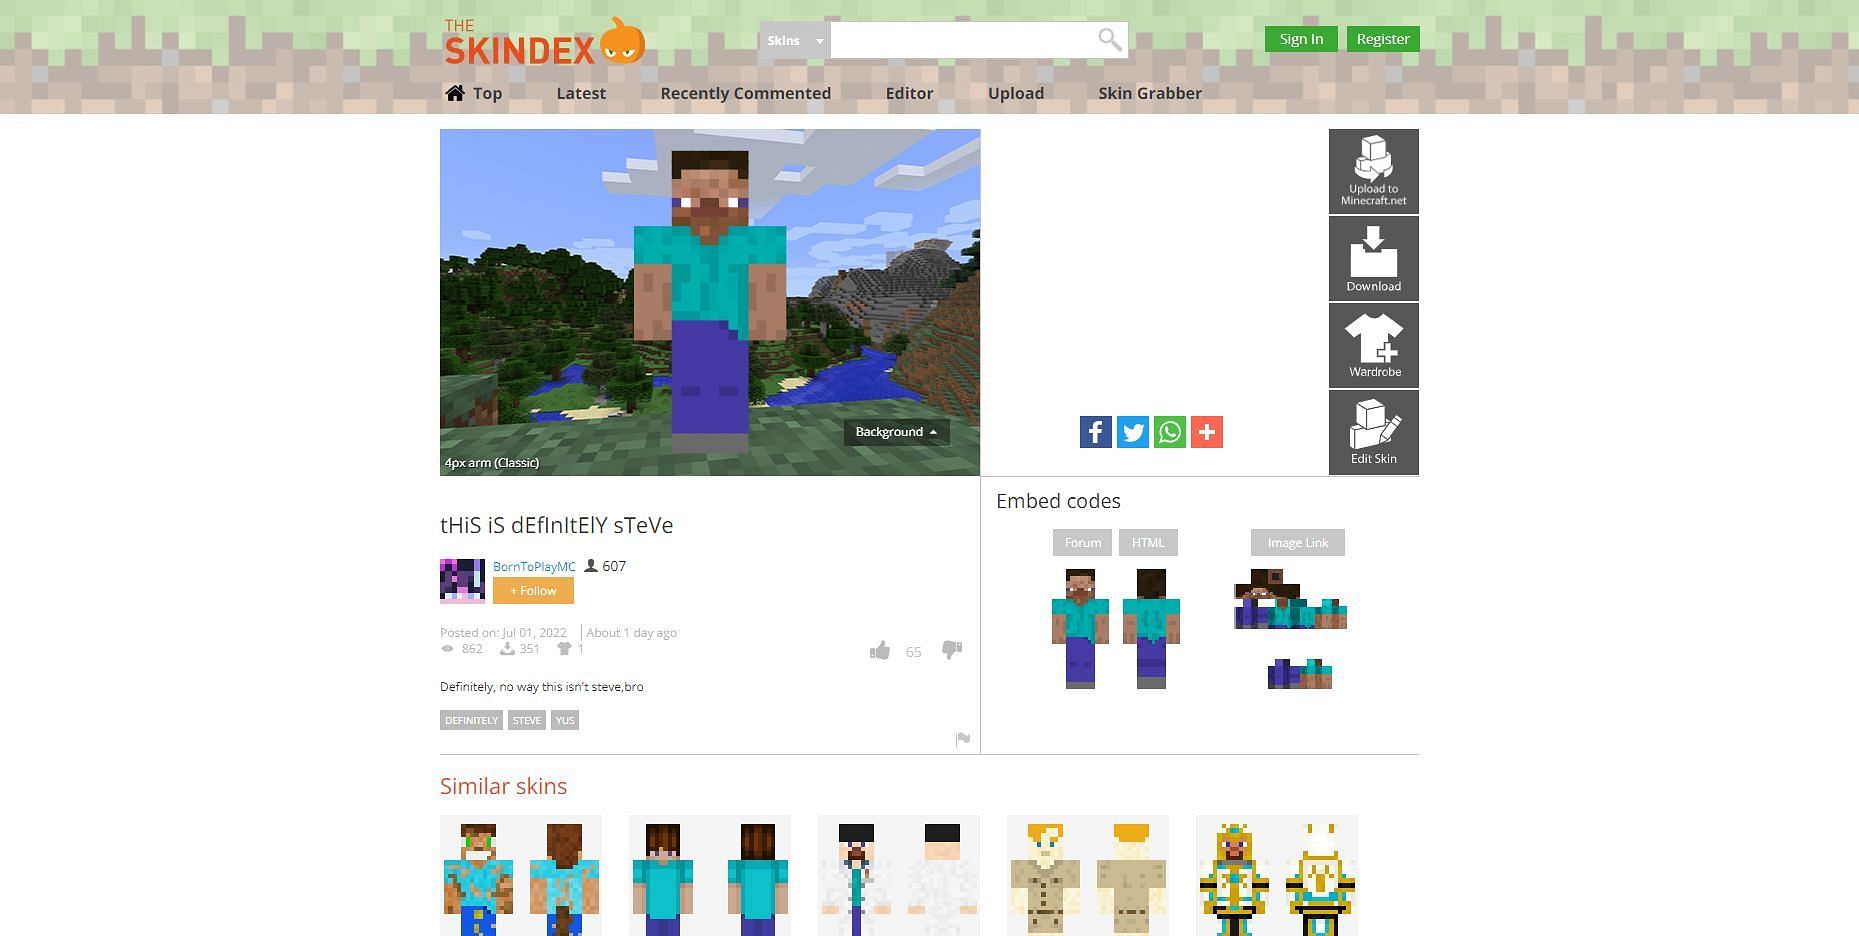
<p>Once the download is done, press the button to bring the search bar pack up and search for a Minecraft <a href=) skin website. This example article will be using Skindex. Once on the skin website, players should search for the skin they want to use and select it. This should give players the option to download the skin.
skin website. This example article will be using Skindex. Once on the skin website, players should search for the skin they want to use and select it. This should give players the option to download the skin.
</figcaption></figure>
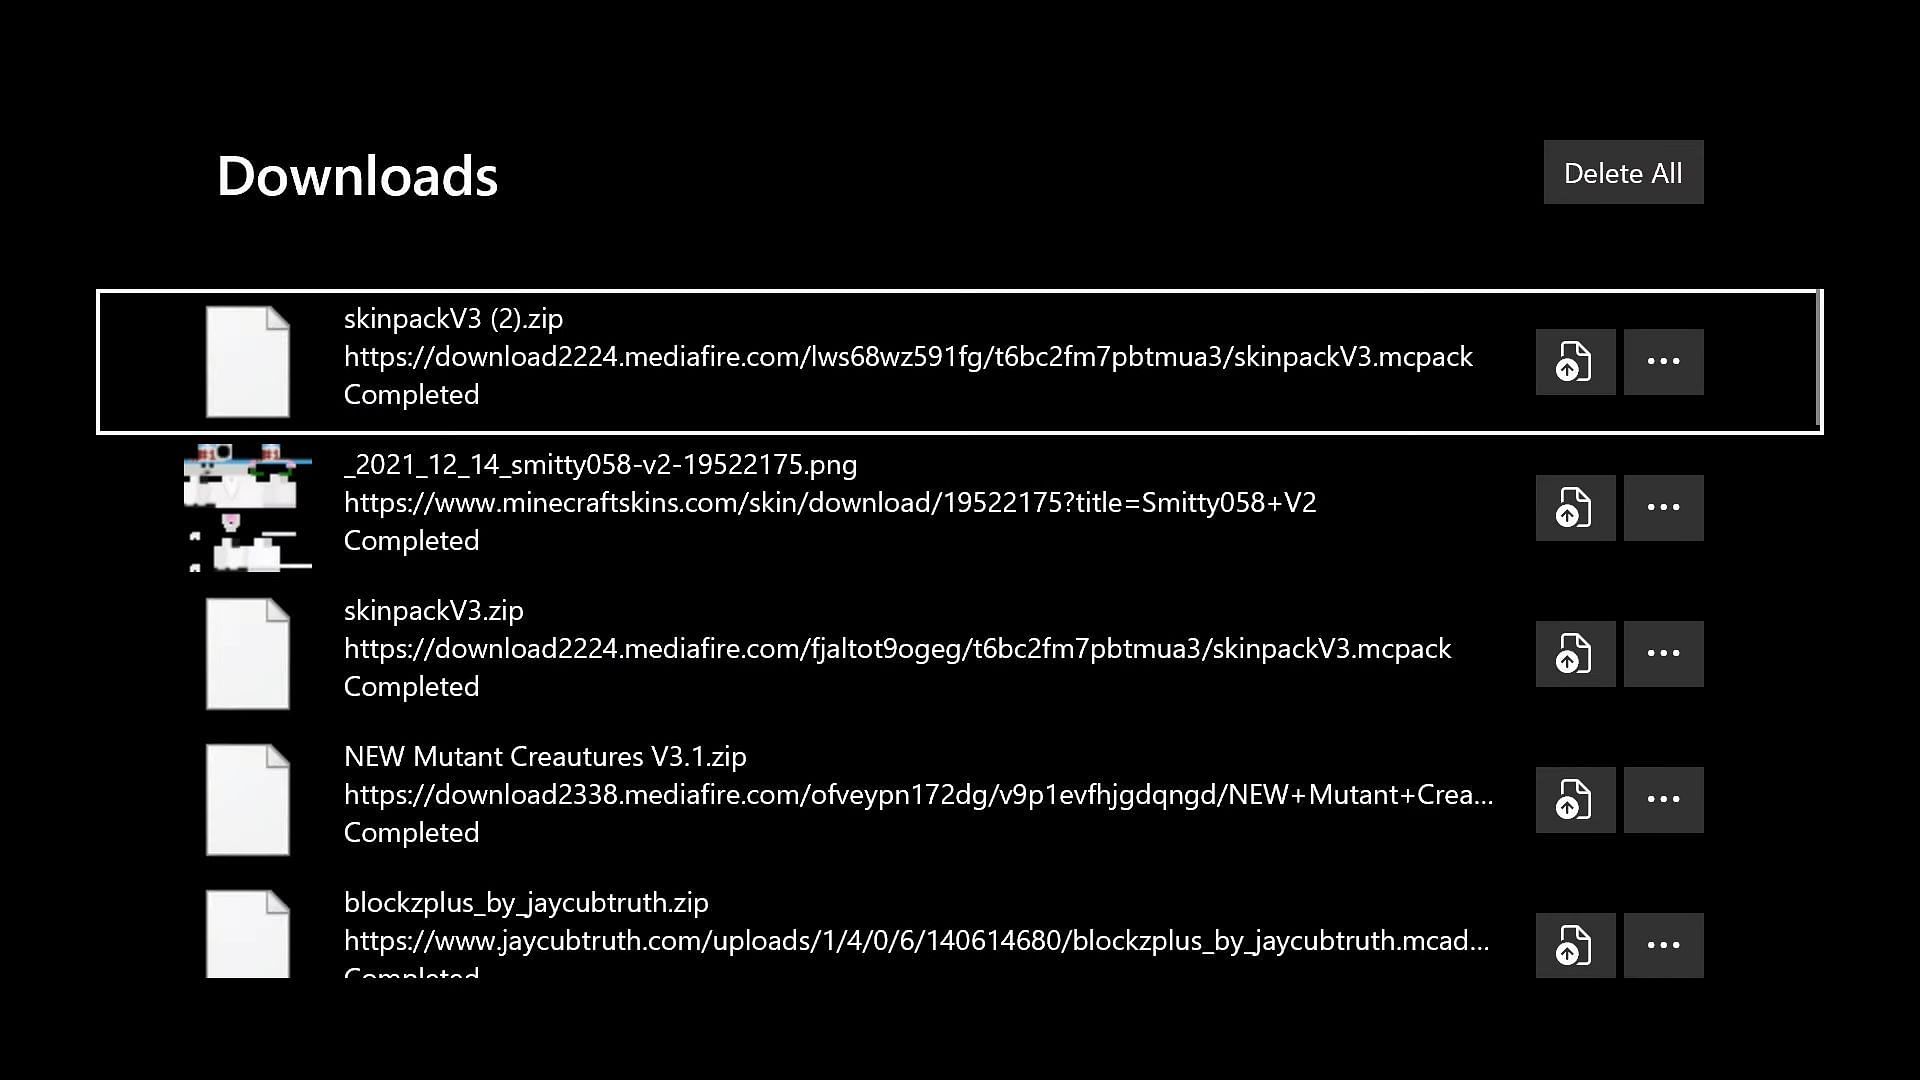
<p>Players will then need to bring the search bar back up. Players should see a button in the top right with three dots. Hit then and select downloads from the list. Players should know the skin and skinpack on the list. </p>
<p>Use the buttons with three dots next to each of these two items and select “Save as” from the list. Hit the icon that looks like an <a href=) Xbox on the left, select the downloads folder, and hit save.
Xbox on the left, select the downloads folder, and hit save.
3) Preparing downloaded skins
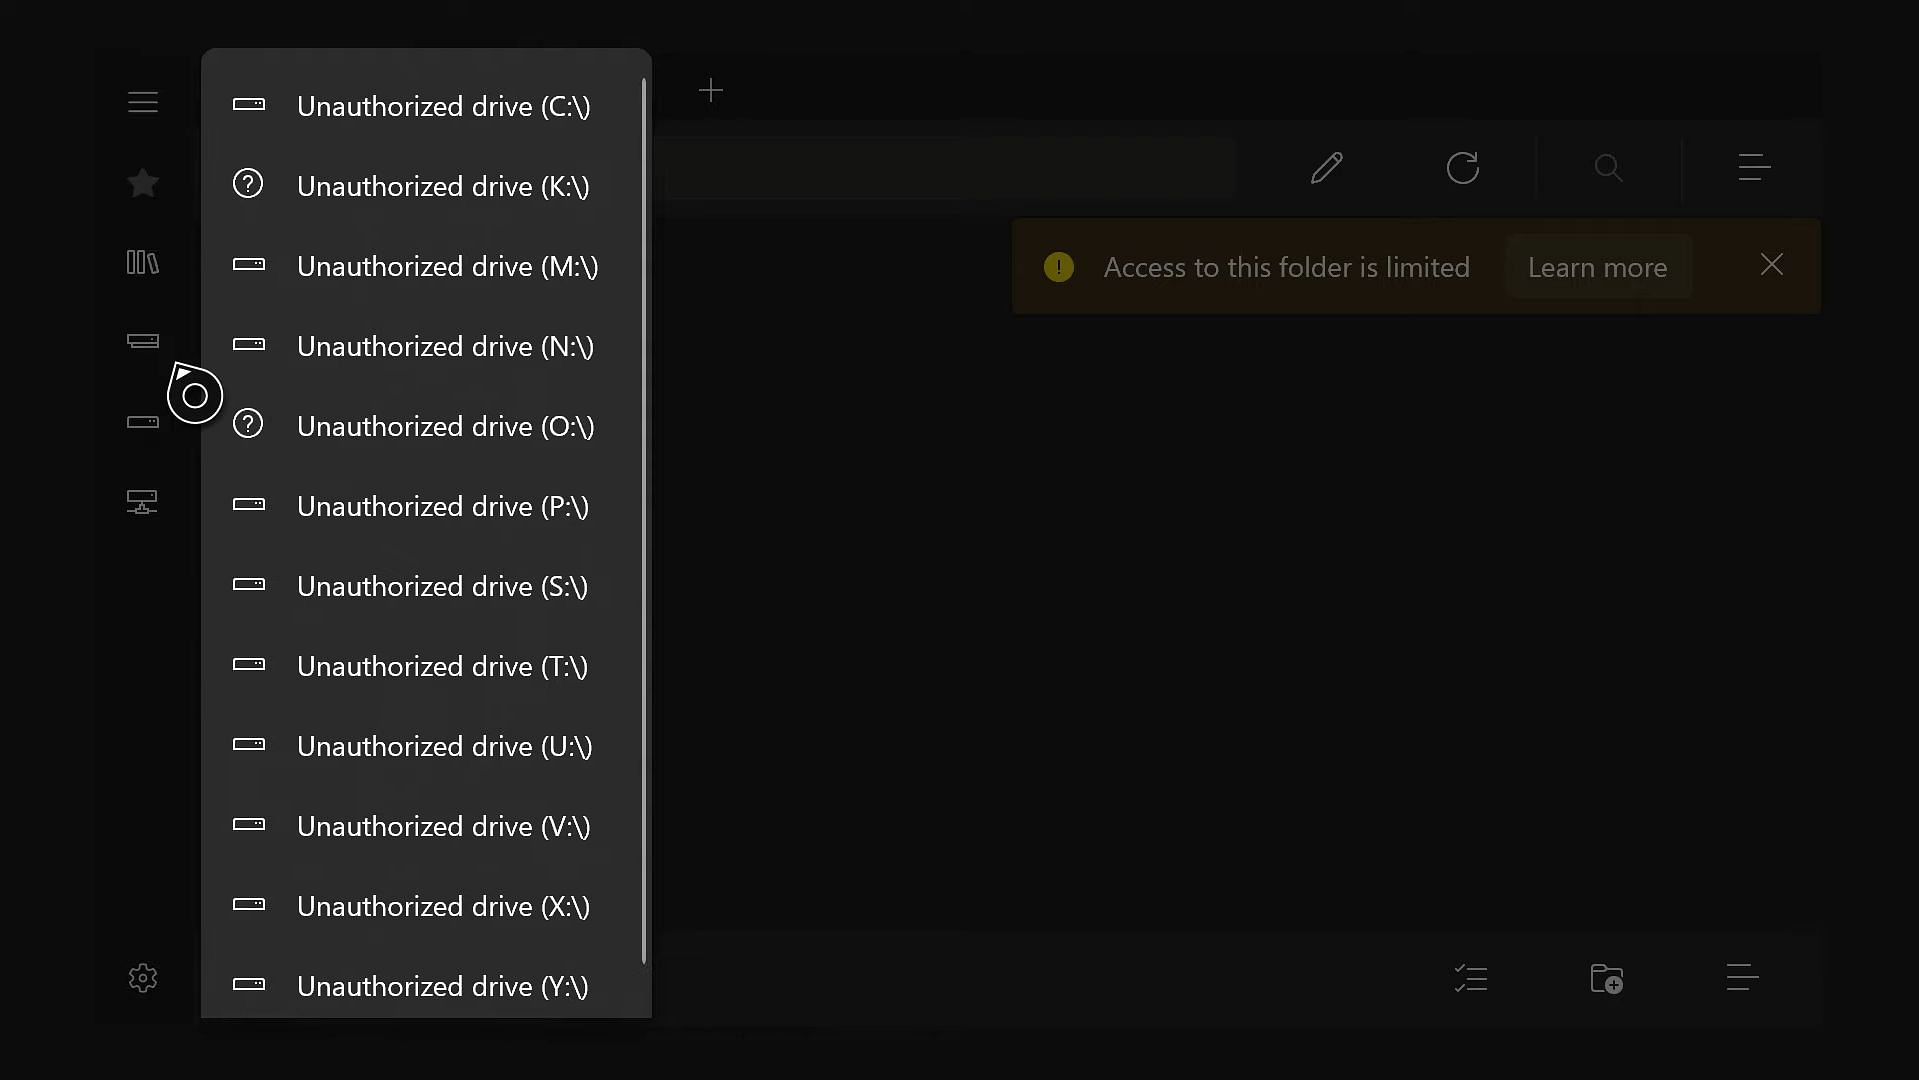
Once the player has downloaded the skin or skins they want, they should close out of the Internet Browser. They should then reopen the FullTrust version of the Adv File Explorer app. Once in the app, players must click the three vertical boxes below the star icon on the left and select downloads from the list shown.
Once in the downloads folder, players should see the skin or skins they downloaded and the skinpack ZIP file. Players should then hover over the skinpack zip file and hit the button on their controller with the three lines. This should bring up an options menu where players can select to extract. Once the content is successfully extracted, the zip file can be safely deleted.
Once the zip file is deleted, players should hover over the skin they want to use in Minecraft and hit that same button with the lines. They should select cut from the list of options. Players should then navigate into the skinpack. One of these skins will be replaced by a custom skin.
When players decide which skin to replace, they should note the name, as the custom skin will be renamed the same as the skin in the pack it is replacing. For example, if the pack had a skin named “TestSkin,” players need to delete it, paste it in the custom skin, and then rename it to “TestSkin,” exactly as the old skin was named.
Once this is done, players should use the back arrow to return to the downloads folder. Players should hover over the skin pack containing the custom skin, press the button with the three lines and select the compress option. This will convert it back into a zip file. Once the compression is done, use the button with the three lines to rename the zip file, remove the .zip and replace it with .skinpack.
The last step is to move the new skin pack into Minecraft’s game files. Hover over the skinpack, hit the button with the three lines, and select cut. Then, hit the star icon on the left, and select “Local” from the list. Once navigated to the local folder, find and enter the “Packages” folder.
Once inside the Packages folder, there should be a subfolder named Microsoft. Minecraft, and enter that folder.
Once in the Minecraft folder, there should be a folder named LocalState that players should enter, enter the games, and then com.mojang folders. This is where Minecraft’s files are. There should be a “skin_packs” folder that the custom skinpack can be pasted into. Players can do it manually using the name mentioned if this folder does not exist.
4) Using the skin in-game
</figcaption></figure>
<p>Ensure all games and apps are closed and launch a new instance of Minecraft. After seeing the “Loading <a href=) Resource Packs” message, players need to hit the guide button, navigate to the right, and hit the “Sign Out” button. This will launch a window to choose a profile and select the main profile for the skin.
Resource Packs” message, players need to hit the guide button, navigate to the right, and hit the “Sign Out” button. This will launch a window to choose a profile and select the main profile for the skin.
After signing out, do not press anything. Minecraft should relaunch itself. Once the game reloads, press the home button again and select a profile to sign into, which is the one that was just signed out. This will reload the game.
Also Read
Article Continues below
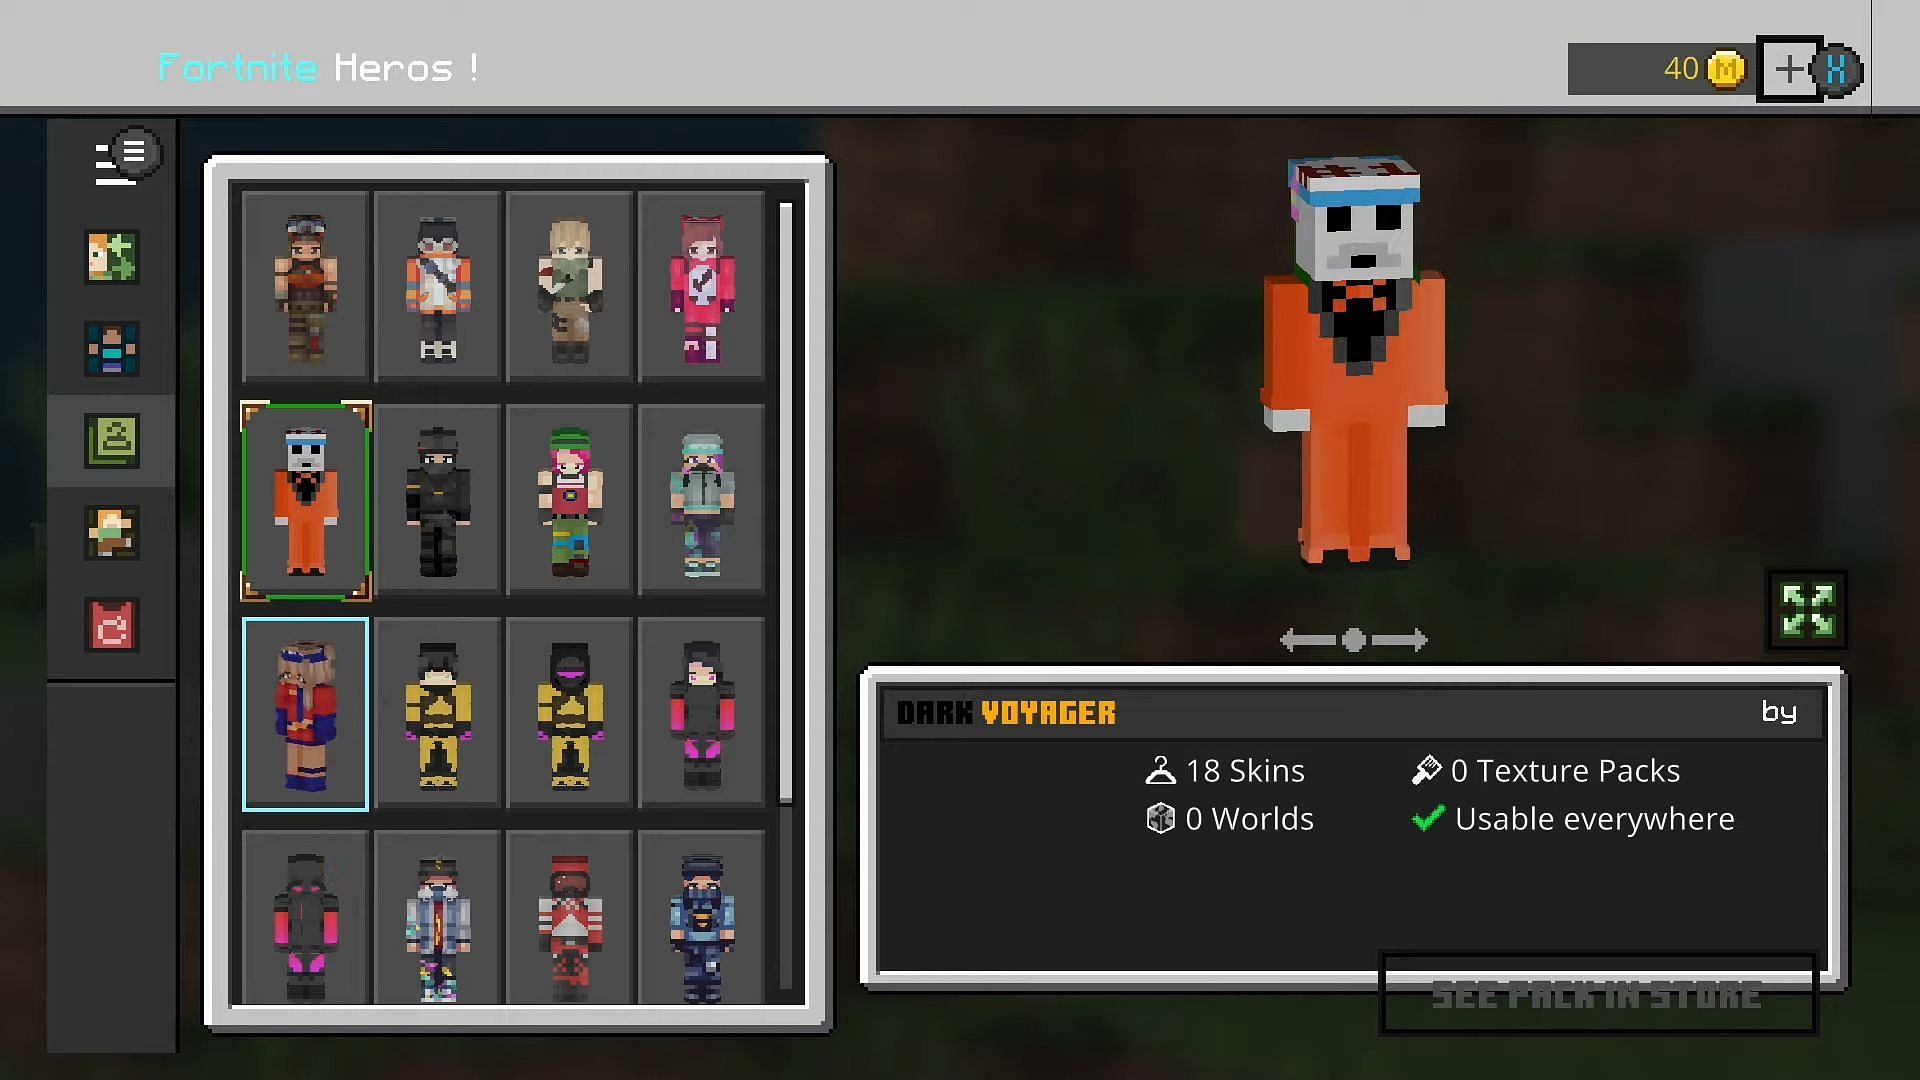
Once Minecraft has reloaded again, players should navigate to the dressing room, then classic skins, owned. The custom skin should be available in the skinpack that was downloaded and changed to contain the custom skin.
While the load times involved in this process can be long and tedious, this is the only known way of getting custom skins on Bedrock as of 1.19 The Wild Update.