When administrating a Minecraft server, it’s sometimes necessary to forward a few ports on the server itself in order to avoid any connection problems.
Port forwarding a server can be tricky depending on the game involved, but Minecraft’s port forwarding tends to be fairly simple.

With just a few tweaks, a handful of clicks and keystrokes, admins should be able to port forward their server and spare their players a litany of issues.
Many professionally hosted servers can do this straight from their control dashboard. However, even players hosting on their own hardware can take advantage of port forwarding.
Port forwarding on a self-hosted Minecraft server
</figcaption></figure>
<p>Port forwarding, in general, isn’t the easiest task, especially for more laid-back Minecraft players. However, by following the right method, players and admins should have little trouble figuring things out for themselves. </p><div class=)
There are certain variables at play depending on what kind of networking hardware players are utilizing. However, the general premise remains the same and should hopefully not be too difficult to manage.
Steps to port forward a Minecraft server

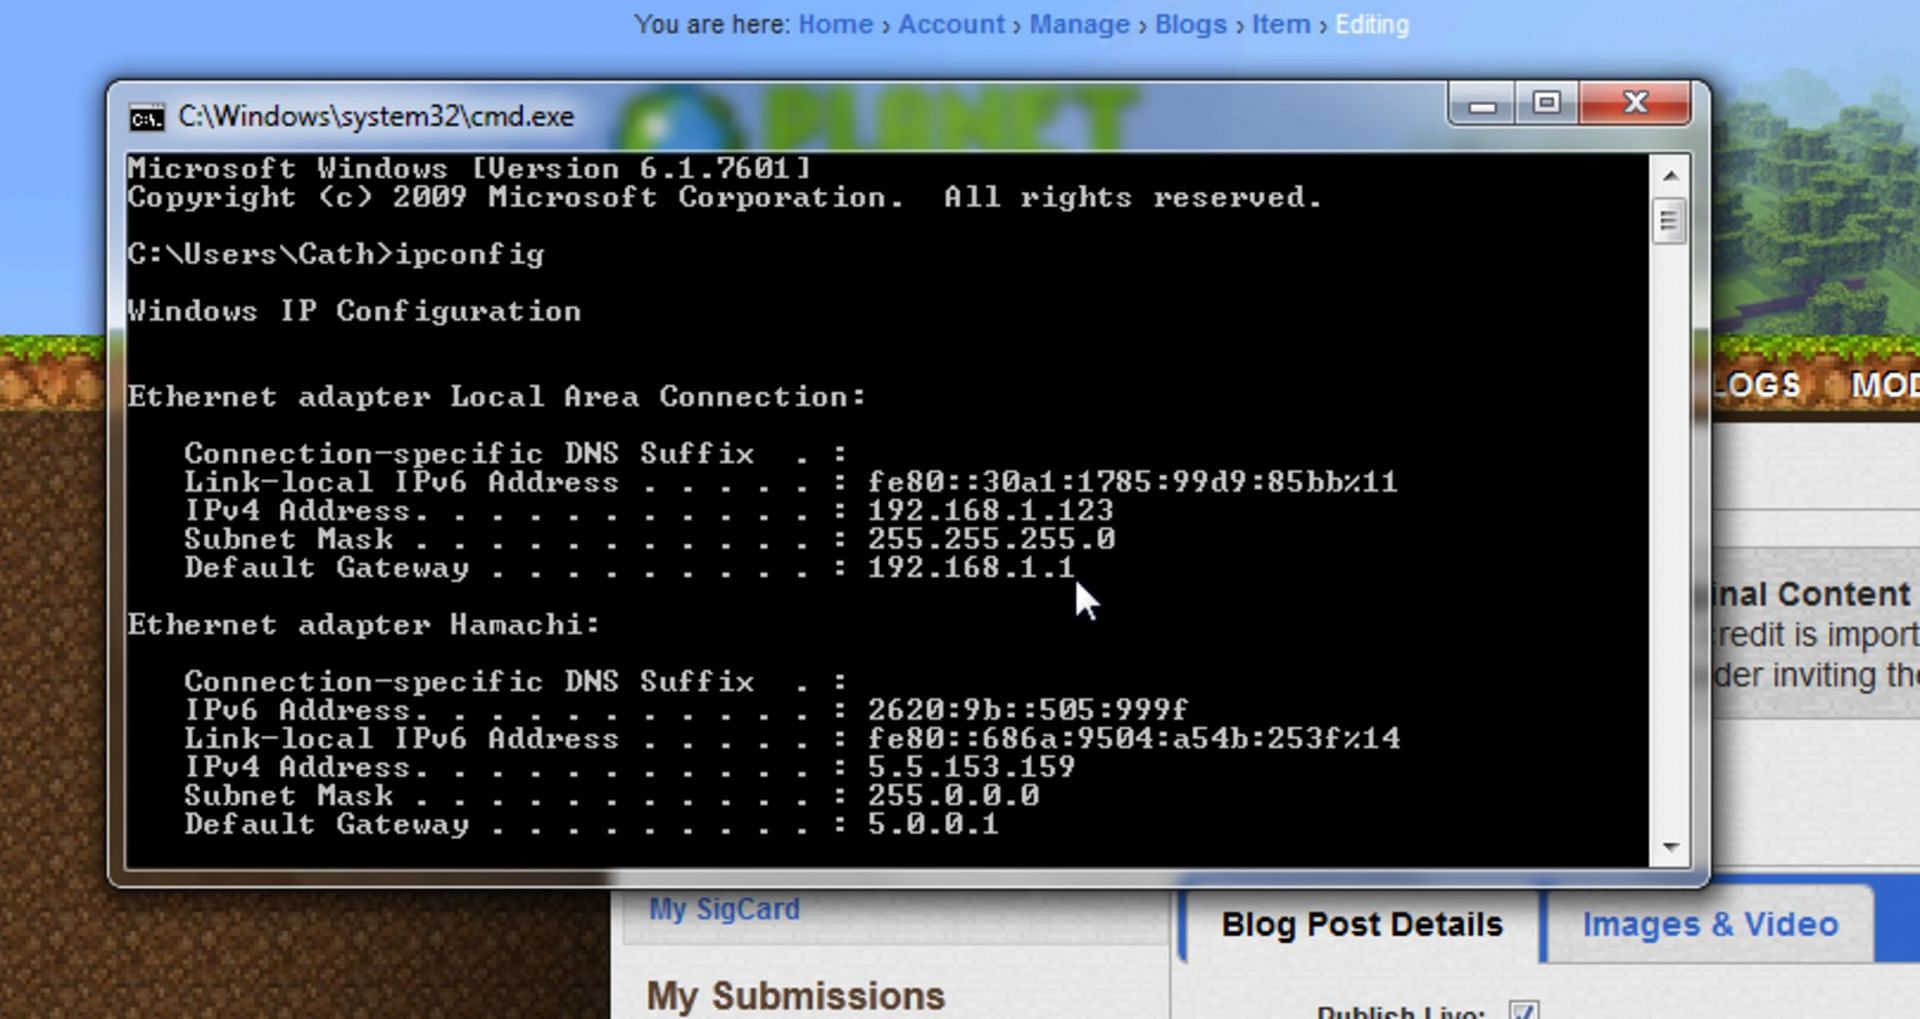
- Find your internet router’s IP address. You can do this in a few different ways. On Windows, you can open their settings, navigate to ” network and internet,” and click to view the network’s properties.
- Scroll down to Wifi or Ethernet. The address labeled “Default Gateway” should present the appropriate router IP. On Mac, you can open your system preferences, click “Network,” click “Advanced,” and head to the TCP/IP tab. The router address should be under the “Router” heading.
- Next, you will want to find your router IP. It should be listed under “IPv4.”
- Ensure your server isn’t open. This should avoid any issue that may present itself while port forwarding. You should also not have Minecraft itself open.
- Open your preferred web browser and enter your router’s IP address in the address bar. Doing so should bring you to your router’s configuration utility.
- Input your username and password. For most routers, if players haven’t configured their login info for their router yet, the username tends to be “admin” and the password can be “password.” These fields can also be set by the player’s internet service provider. They can also be printed on the side or back of the router itself.
- Assign a static IP address for your router. This can be done differently depending on the router page, but it usually requires players to navigate to where their IP is found and disable the dynamic IP feature. Players should be able to enter a custom static IP after the fact.
- On the router page, you should also find your device’s IP address and lock it if possible. Sometimes, this is also called “reserving” the IP, and it can often be found in the router’s user manual.
- Find the port forwarding section of the router’s page. Add a new “rule” for the port forwarding and add the internal port 25565 (Minecraft’s default port) to the port forwarding list. The same should be done for the “service port” field where applicable. These fields can also be named “inbound” and “outbound” ports.
- The same port forwarding rule should ask for an IP address. You should place your device’s static IP address in this field.
- For the protocol of the role, you will want to select TCP while also enabling UDP if at all possible.
- Save your changes. Your router may also need to be rebooted for this new rule to take effect.
Also Read
Article Continues below
After following these steps, players should have a server prepped with the appropriate port forwarding.