Minecraft Java Edition players may have seen their favorite YouTubers playing custom maps in the past and wondered how they can also install them for themselves.
With thousands of custom maps available to freely download online, there’s thousands of hours of blocky entertainment to be had. That’s why in this article, we’ll detail exactly how players can install custom maps on the Java edition of Minecraft.
Easiest way to install custom Minecraft maps (Java Edition)
1.) Download the map that is going to be installed.
Players should first select the map that they want to install and download it.
There are several different websites players can use to browse and download thousands of different Minecraft maps, here are some of the most popular:
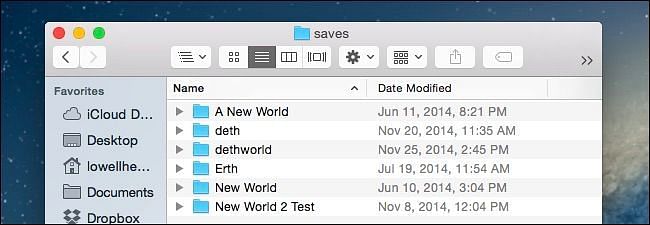
2.) Place the map into the Minecraft saves folder
Once the Minecraft map has been downloaded, players should now place it in their Minecraft saves folder.
It is located in different places on different operating systems. If the map came in a .zip or .rar file, then the player should use a program like Winrar or 7Zip to extract it before proceeding with this step.
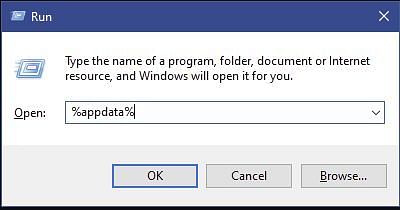
For Windows users:
Press the windows key and the r key simultaneously to open a “run” window. In this window, type %appdata% as shown in this picture

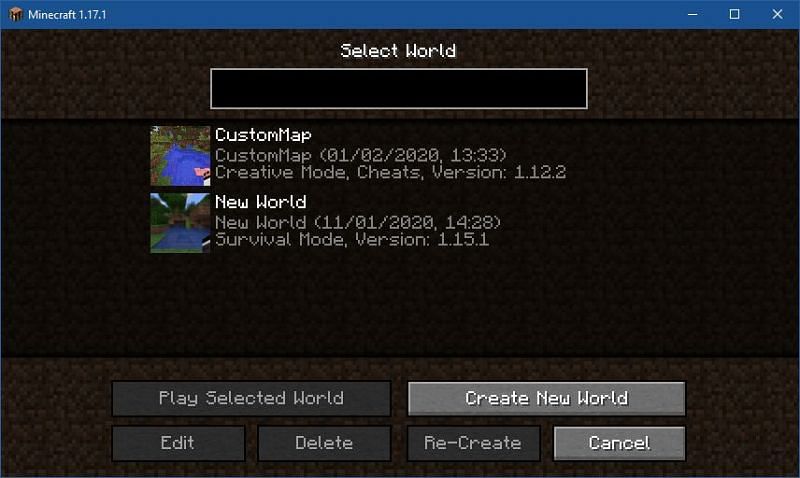
 Play the custom Map</strong></p>
<p>Once the player has completed all 3 prior steps and provided everything has been done correctly, the custom downloaded world can now be joined to play.</p>
<p>One thing players should be sure of, however, is that the world version matches up with the Minecraft version that is currently launched. Any discrepancies between the two could cause potential issues, including even world corruption.</p>
<p>Luckily, this problem is easily fixed by ensuring the correct version of Minecraft is used that matches up with the maps version. Players unaware of how to change their Minecraft version can check out the video below.</p>
<div class=)